Kit eletrónico sem contato para teste de segurança e detecção de metais.
DESCRIÇÃO EM PORTUGUÊS BREVEMENTE DISPONÍVEL
Se tiver alguma dúvida neste produto não hesite em contactar-nos.
*Atenção: as imagens são meramente ilustrativas.
Metal Detector is a high performance metal detector designed for security.
Application:
- Game entertainment
- Security check
- Search for metal products
- Car detection
- Traffic Statistics
- Elevator floor control
- Production equipment position detection
- Production equipment development and design
- Electronic Product Design
- Play equipment development
- Metal proximity switch
- Metal detection in human body
| NO. | Parameters | Value |
| 1 | Name | Metal detector |
| 2 | Operating voltage | DC 3-5V |
| 3 | Operating current | ≤ 40mA |
| 4 | Standby current | ≤ 5mA |
| 5 | Detection depth | ≤ 60mm |
| 6 | Detection and alarm mode | Sound and Light |
| 7 | Difficulty of welding machine | Easy |
| 8 | Circuit board size | 86*61mm |
| 9 | Packing weight | 16g/kit |
Component list:
| NO. | PCB Marker | Component Name | Parameter | QTY |
| 1 | R3 | RES | 470R | 1 |
| 2 | R2 | RES | 2K | 1 |
| 3 | R1 | RES | 200K | 1 |
| 4 | VR1 | ADJ-RES | 100R | 1 |
| 5 | C2.C3 | CAP | 222P | 2 |
| 6 | C1.C4 | CAP | 104P | 2 |
| 7 | C5 | E-CAP | 100UF | 1 |
| 8 | LED1 | LED | 5mm Red | 1 |
| 9 | Q2.Q3 | Triode | S9012 | 2 |
| 10 | Q1 | Triode | S9018 | 1 |
| 11 | SW1 | Power | SW | 1 |
| 12 | SP1 | Buzzer | 9*12 | 1 |
| 13 | J1 | Power-Socket | KF301-2 | 1 |
| 14 | —— | PCB | MDS-60 | 1 |
| 15 | Choose | Battery box | AA1.5V*3 | 1 |
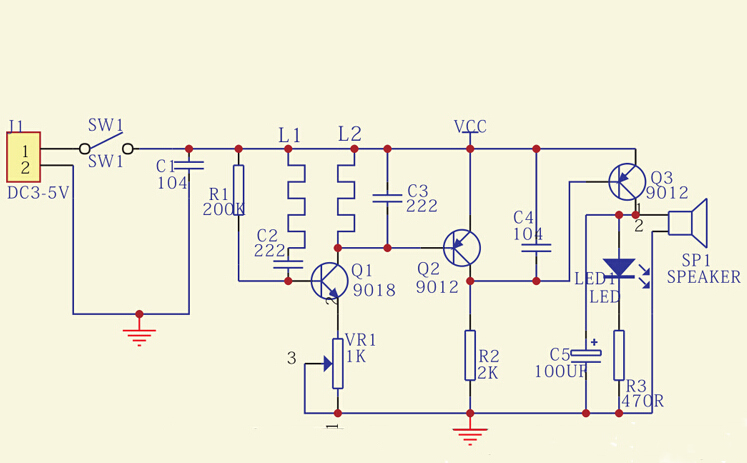
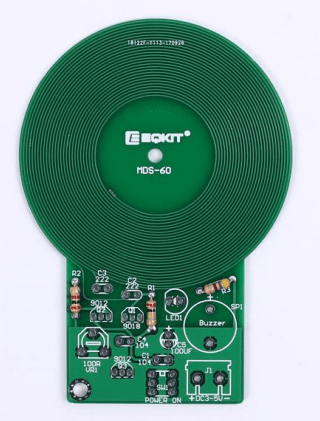
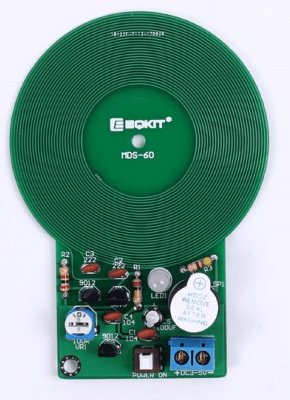
Diagram:
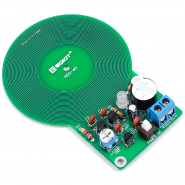
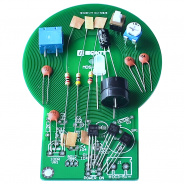
Finished Product:
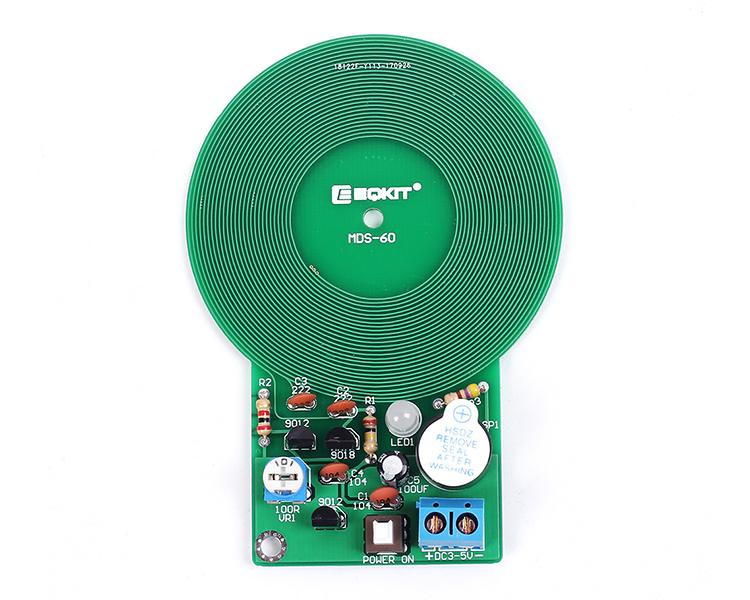
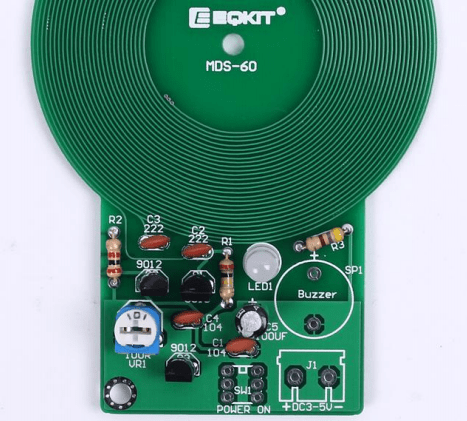
Note: Users can complete the installation by PCB silk screen and component listing
Installation Steps
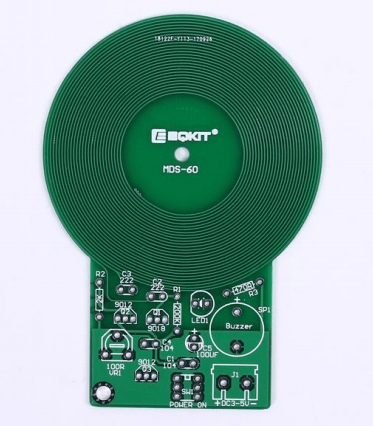
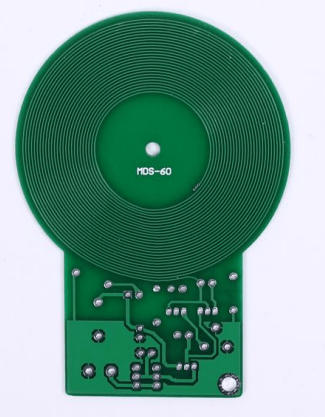
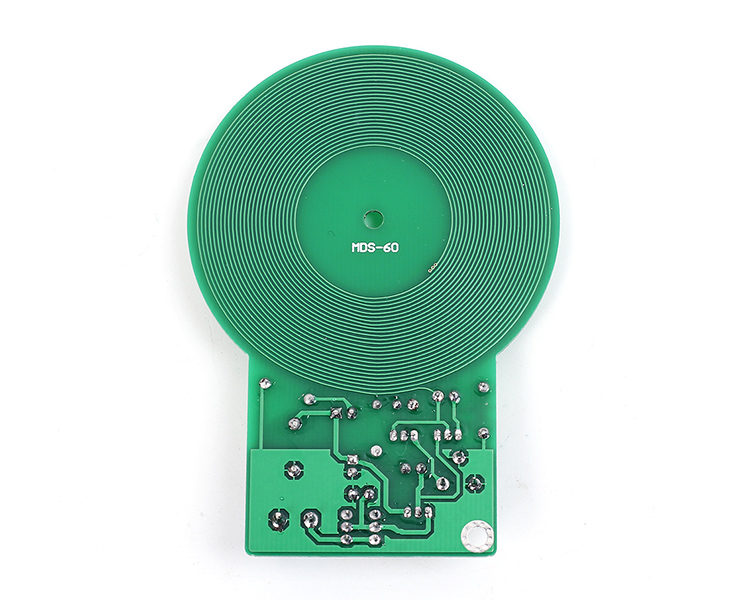
Top View Bottom View
Step 1: Install Metal Film Resistor R1=200K; R2=2K; R3=470ohm
Step 2: Install Capacitor: C1, C4=104pF; C2, C3=222pF; C5=100uF
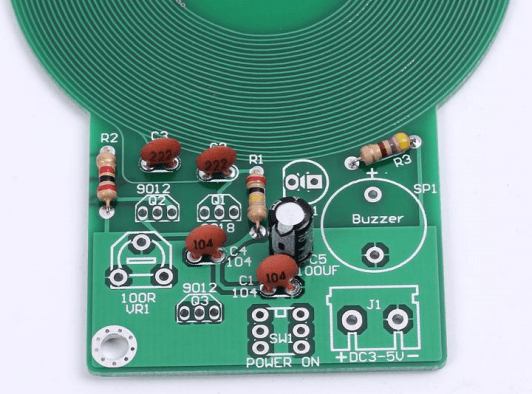
Step 3: Install 2pcs S9012 on Q2, Q3; 1pcs S9018 on Q1; 1pcs potentiometer on VR1
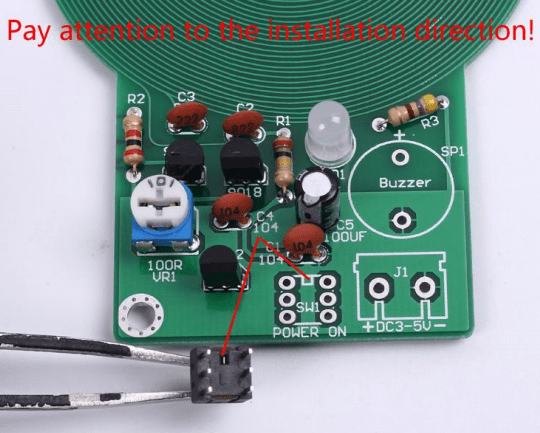
Step 4: Install power self-locking switch. Pay attention to the installation direction!!
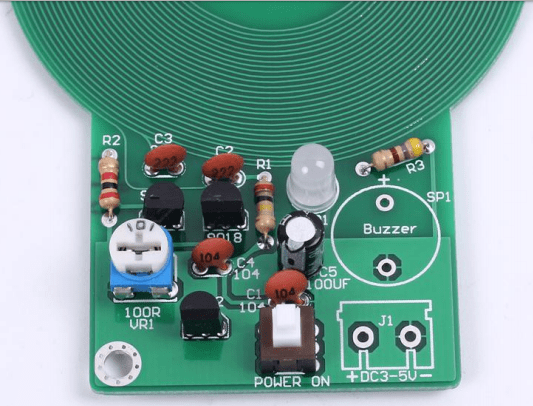
Step 5: Install Buzzer and Power socket

Produtos Associados

Kit eletrónico sem contato para teste de segurança e detecção de metais.