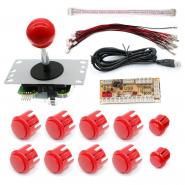
This tutorial will show you how to set up your own Arcade Machine, material needed:
1x - Arcade Gamepad
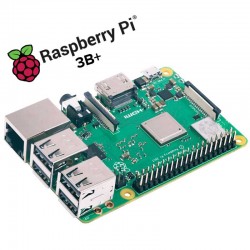
1x - Raspberry Pi 3B+
1x - SD Card
1x - 5V Power Supply
1x - Micro USB cable
So, let's start, using our kit this is a pretty straight forward tutorial, feel free to put some extra effort in making something unique after this steps.
1. Let's start by assembling the gamepad arcade kit:
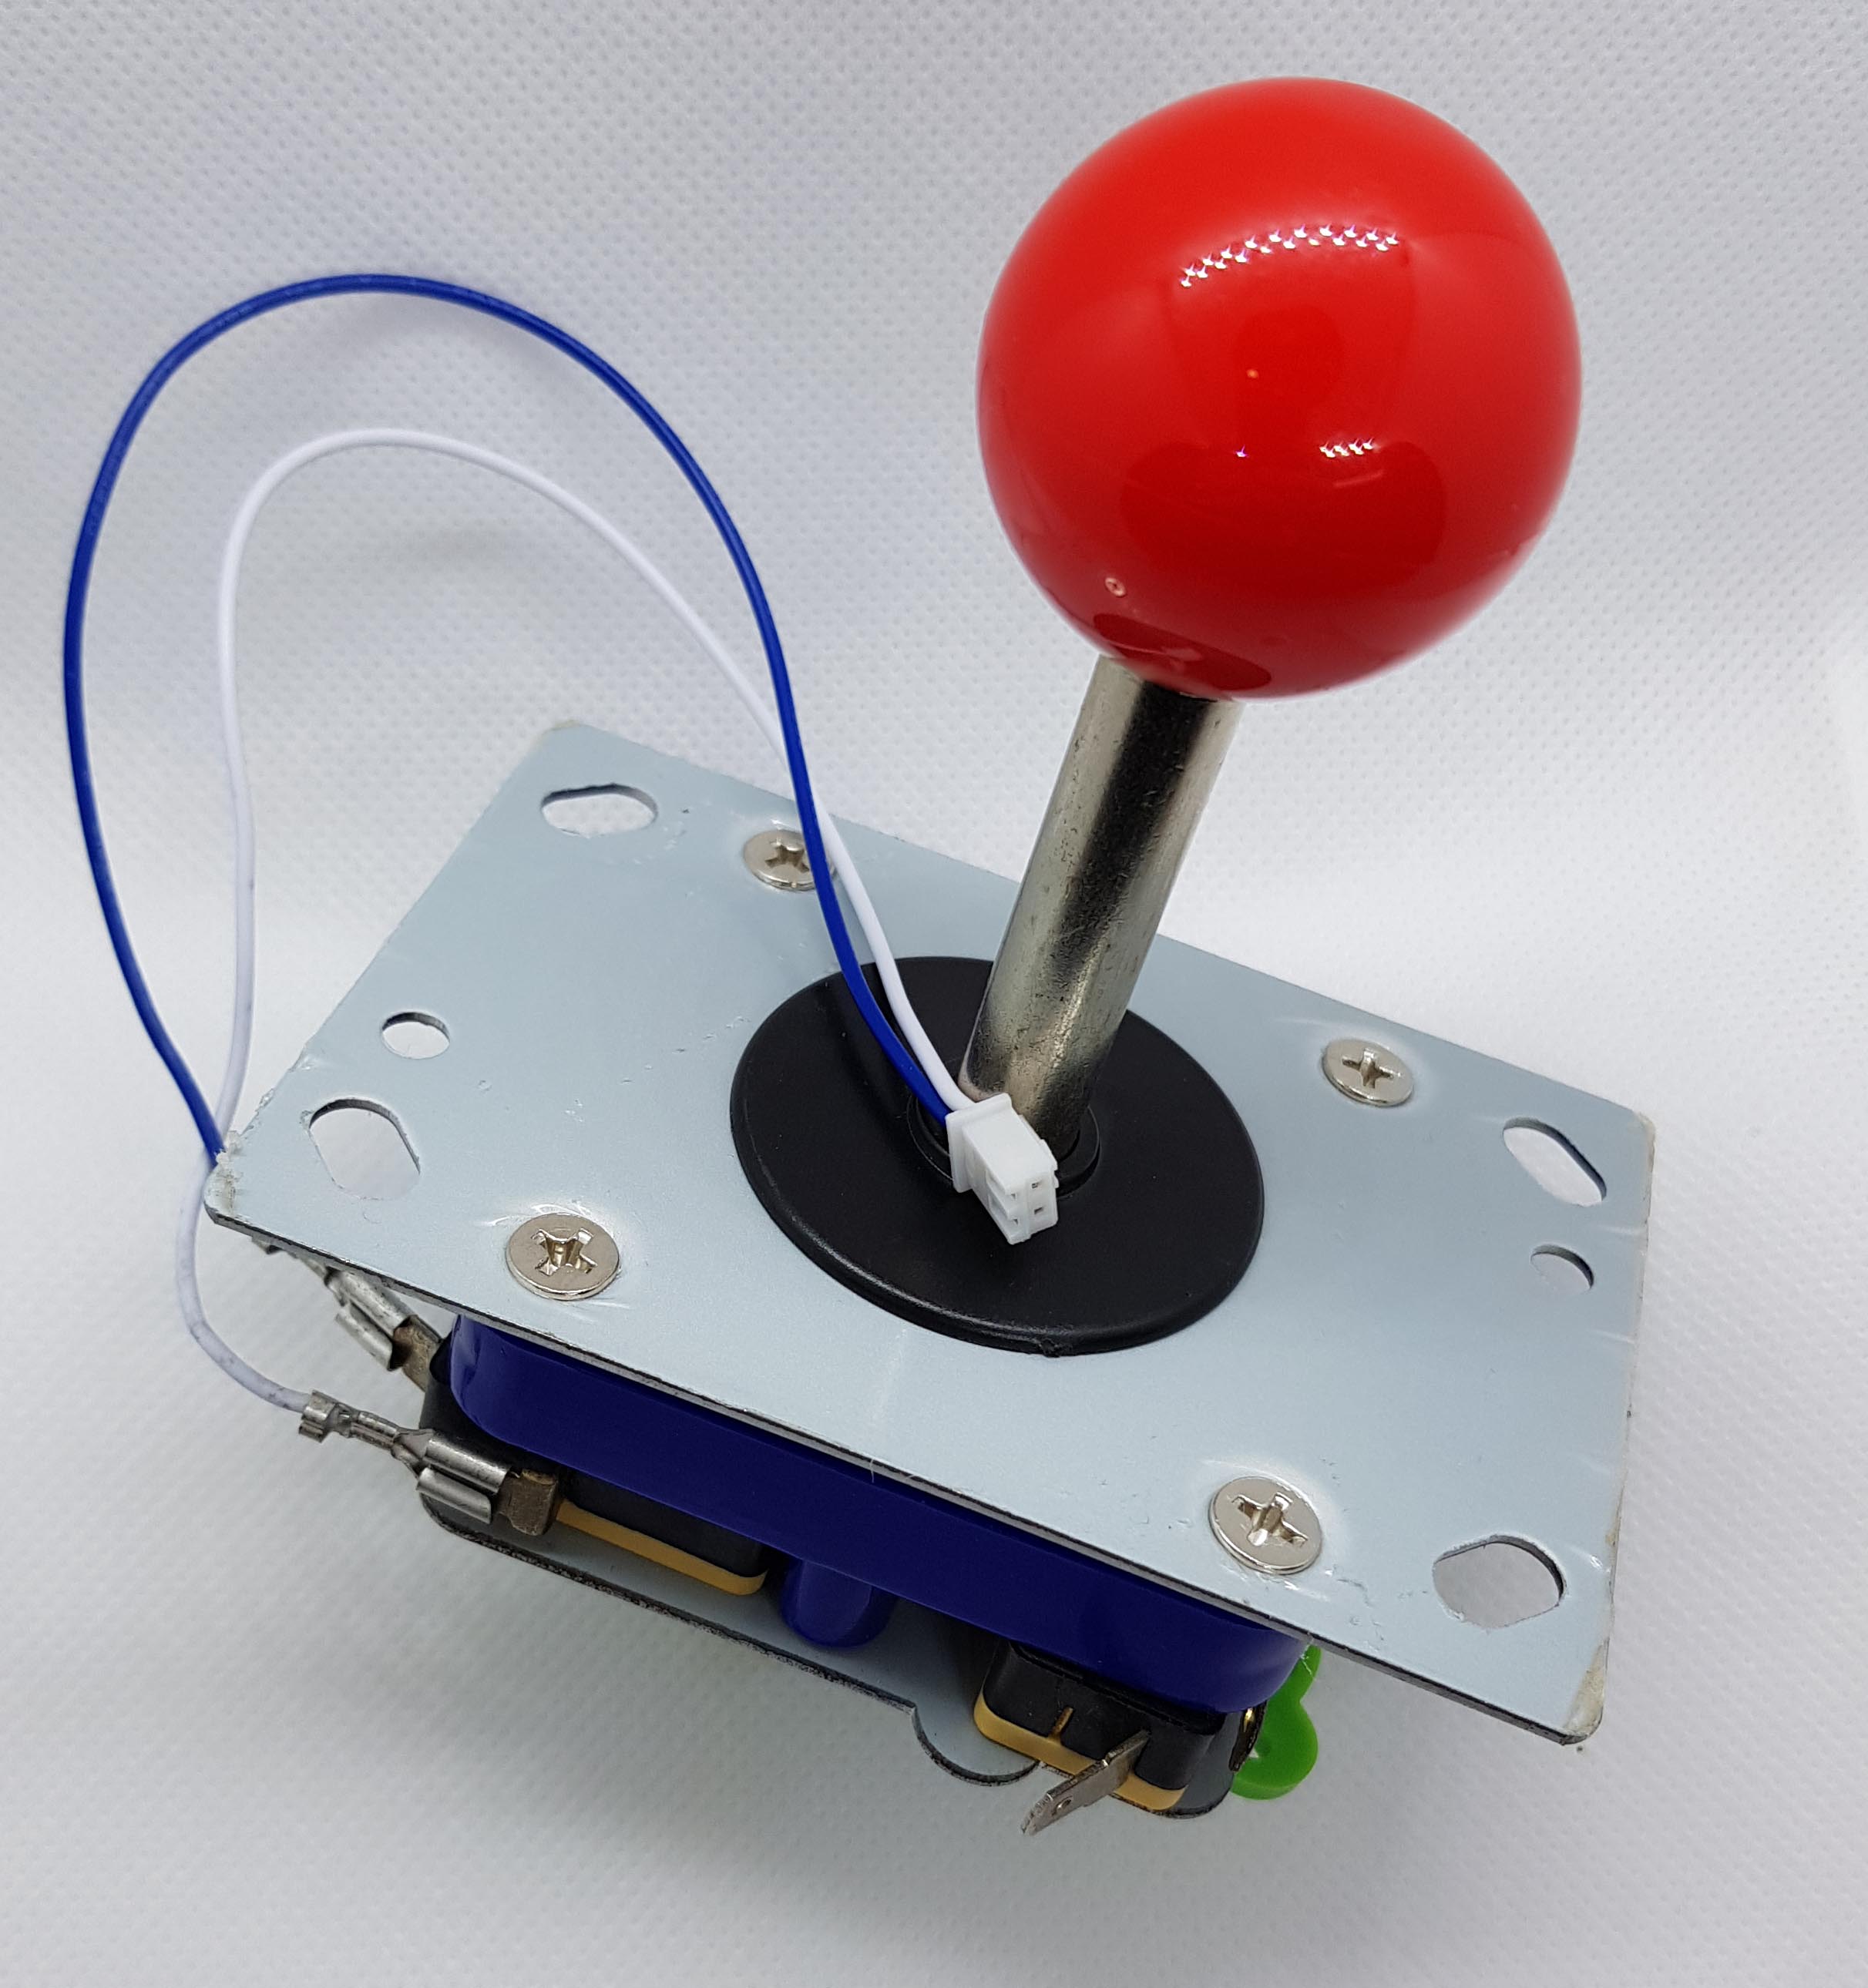
First connect all the four wires to the joystick like this (the color order is not importante):
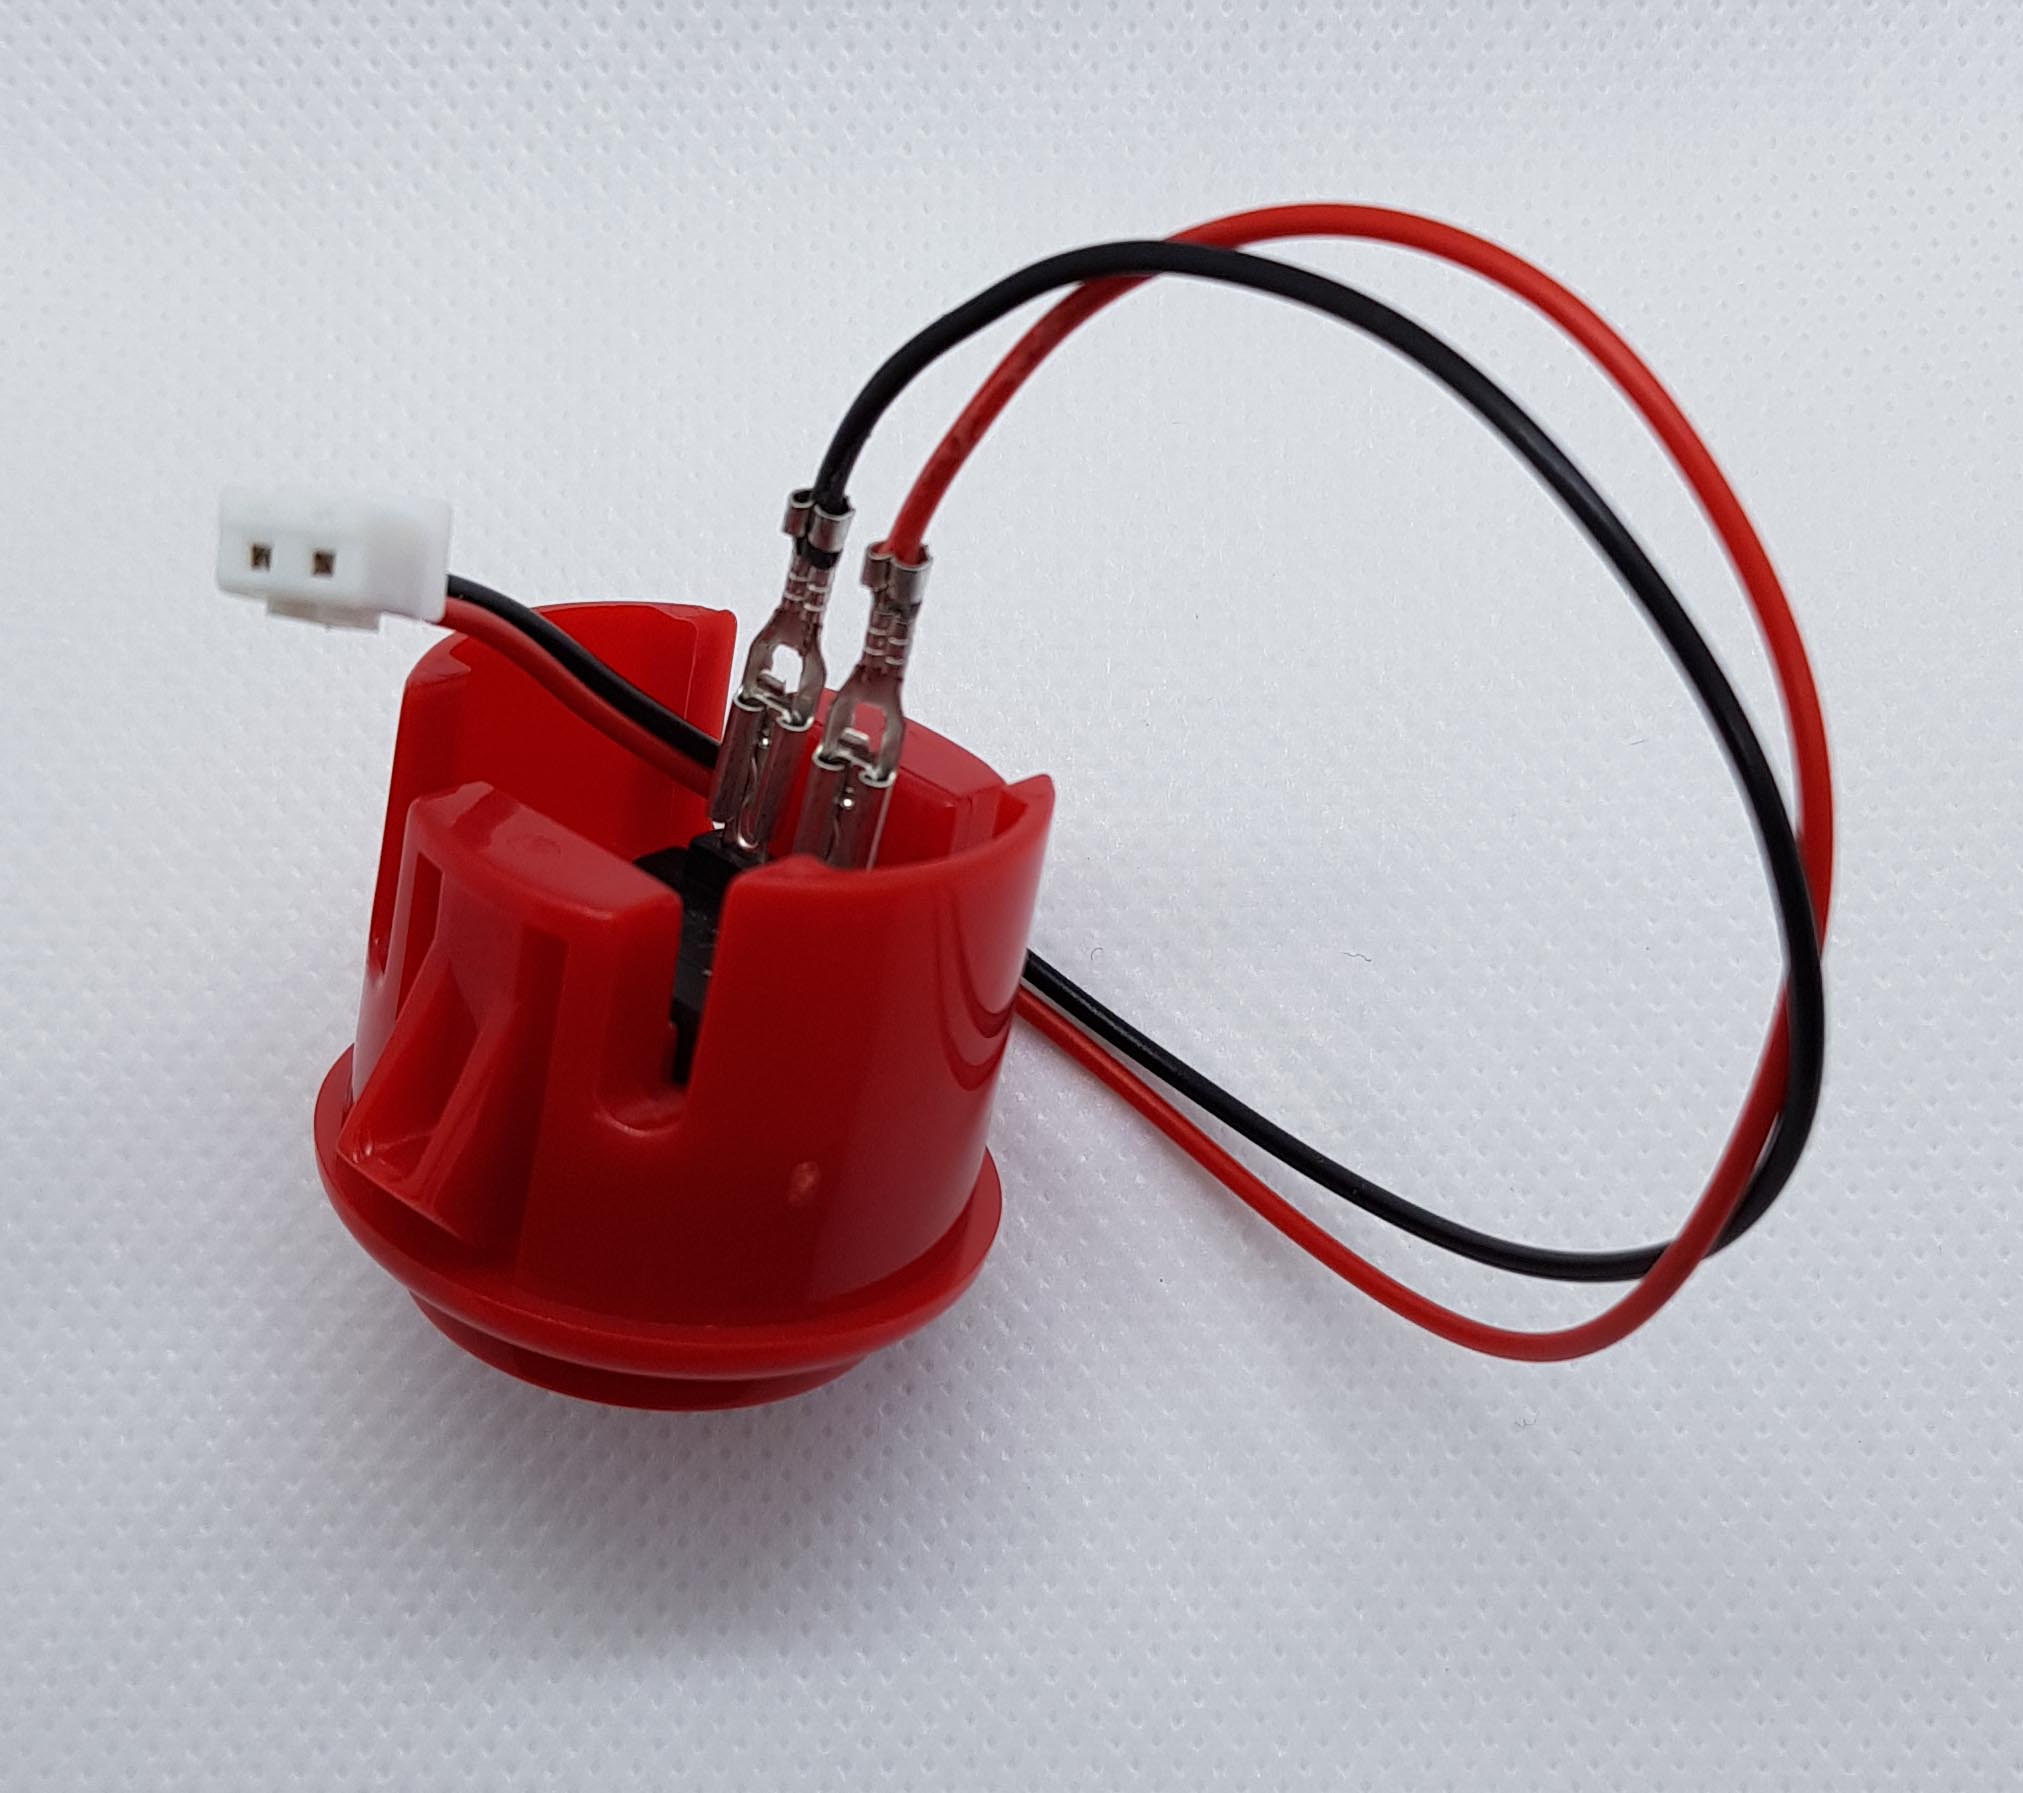
Then do the same for the buttons like this (the color order is not importante):
In the end you should have all the 10 buttons and the joystick connected to the board like this:
(The order is not importante, we will configure the inputs later)
(Be sure to connect the smaller buttons to the SE and ST on the board, this will be the SELECT and START buttons)
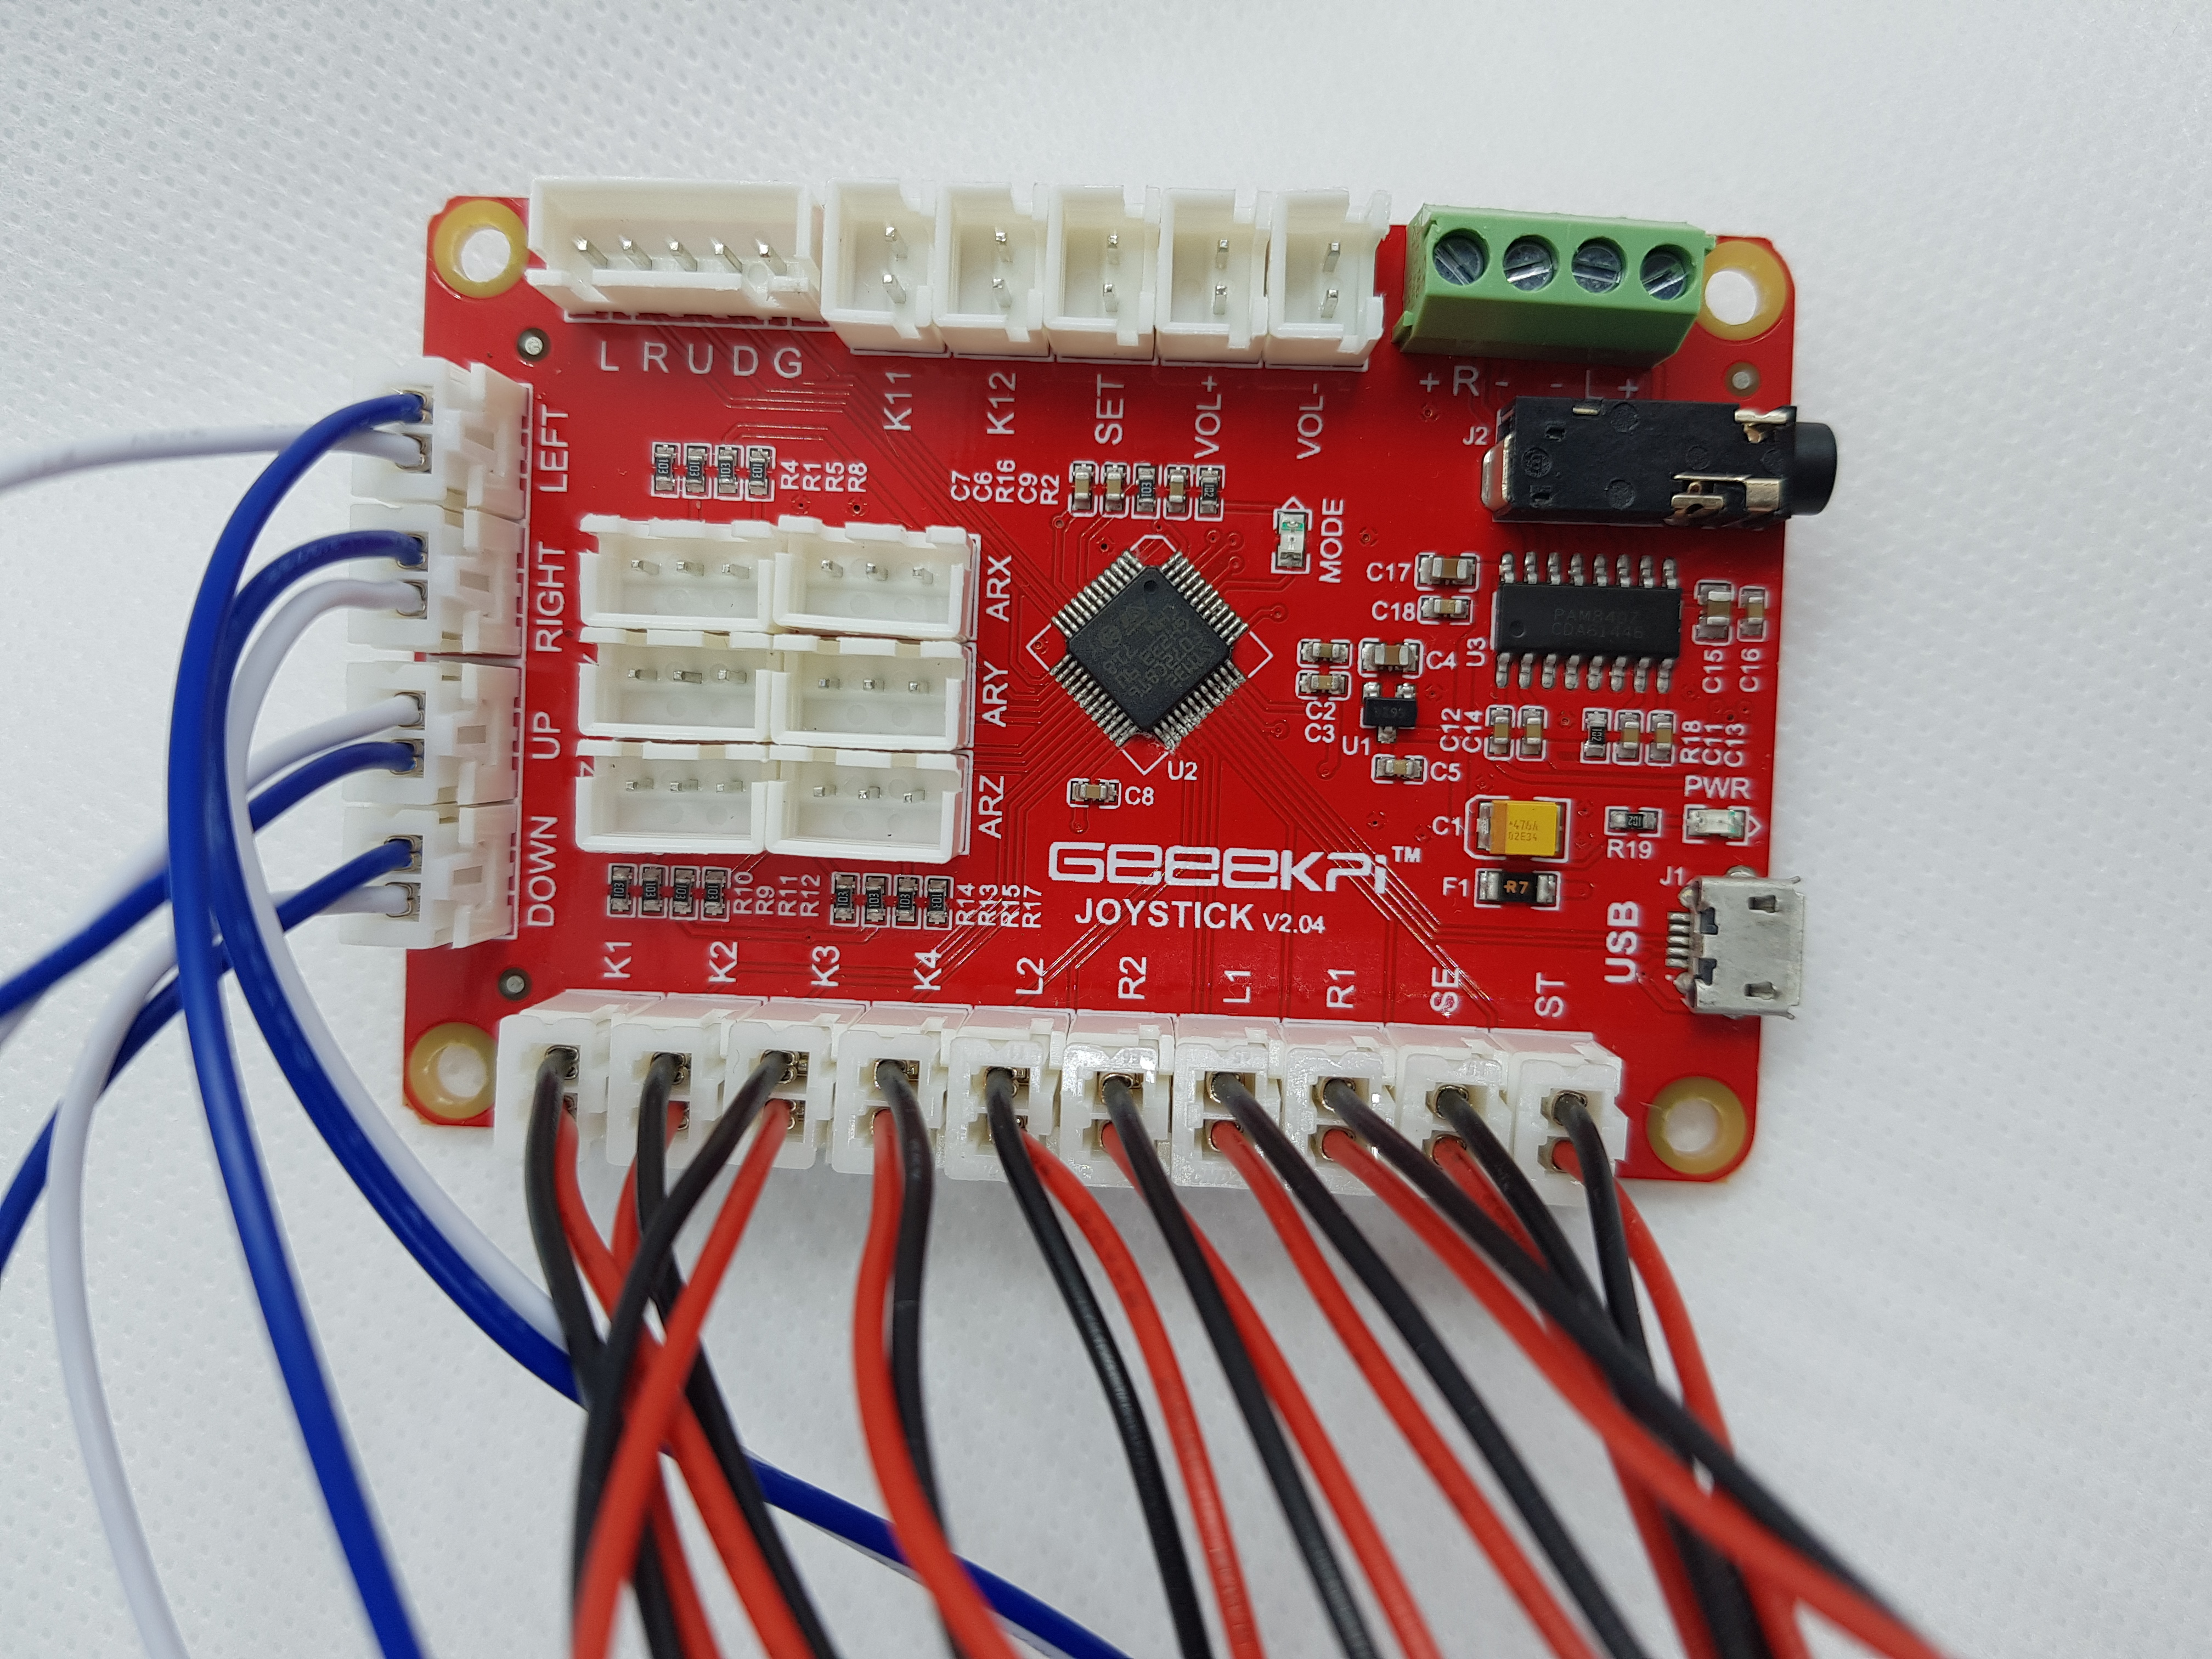
Now you can connect the GeeekPi Joystick to the Raspberry Pi through the Micro USB cable
Done, we have our fully connected and ready to play joystick! Congrats good job!
2. Let's setup the Raspberry Pi card:
First download retropie image from the retropie website, use this direct link or go to https://retropie.org.uk/download/
After finishing the download extract the files you should have a file called retropie-4.4-rpi2_rpi3.img, this will be the image that we will flash to the card, if you dont know how to do this, please visit the official raspberry pi website in https://www.raspberrypi.org/documentation/installation/installing-images/ here you will find all the steps to correctly flash an image to use in the raspberry.
After this you should be able to boot the retropie emulator.
3. Let's boot and configure the retropie emulator:
In the first boot retropie will do some configurations, just wait until you see this screen:
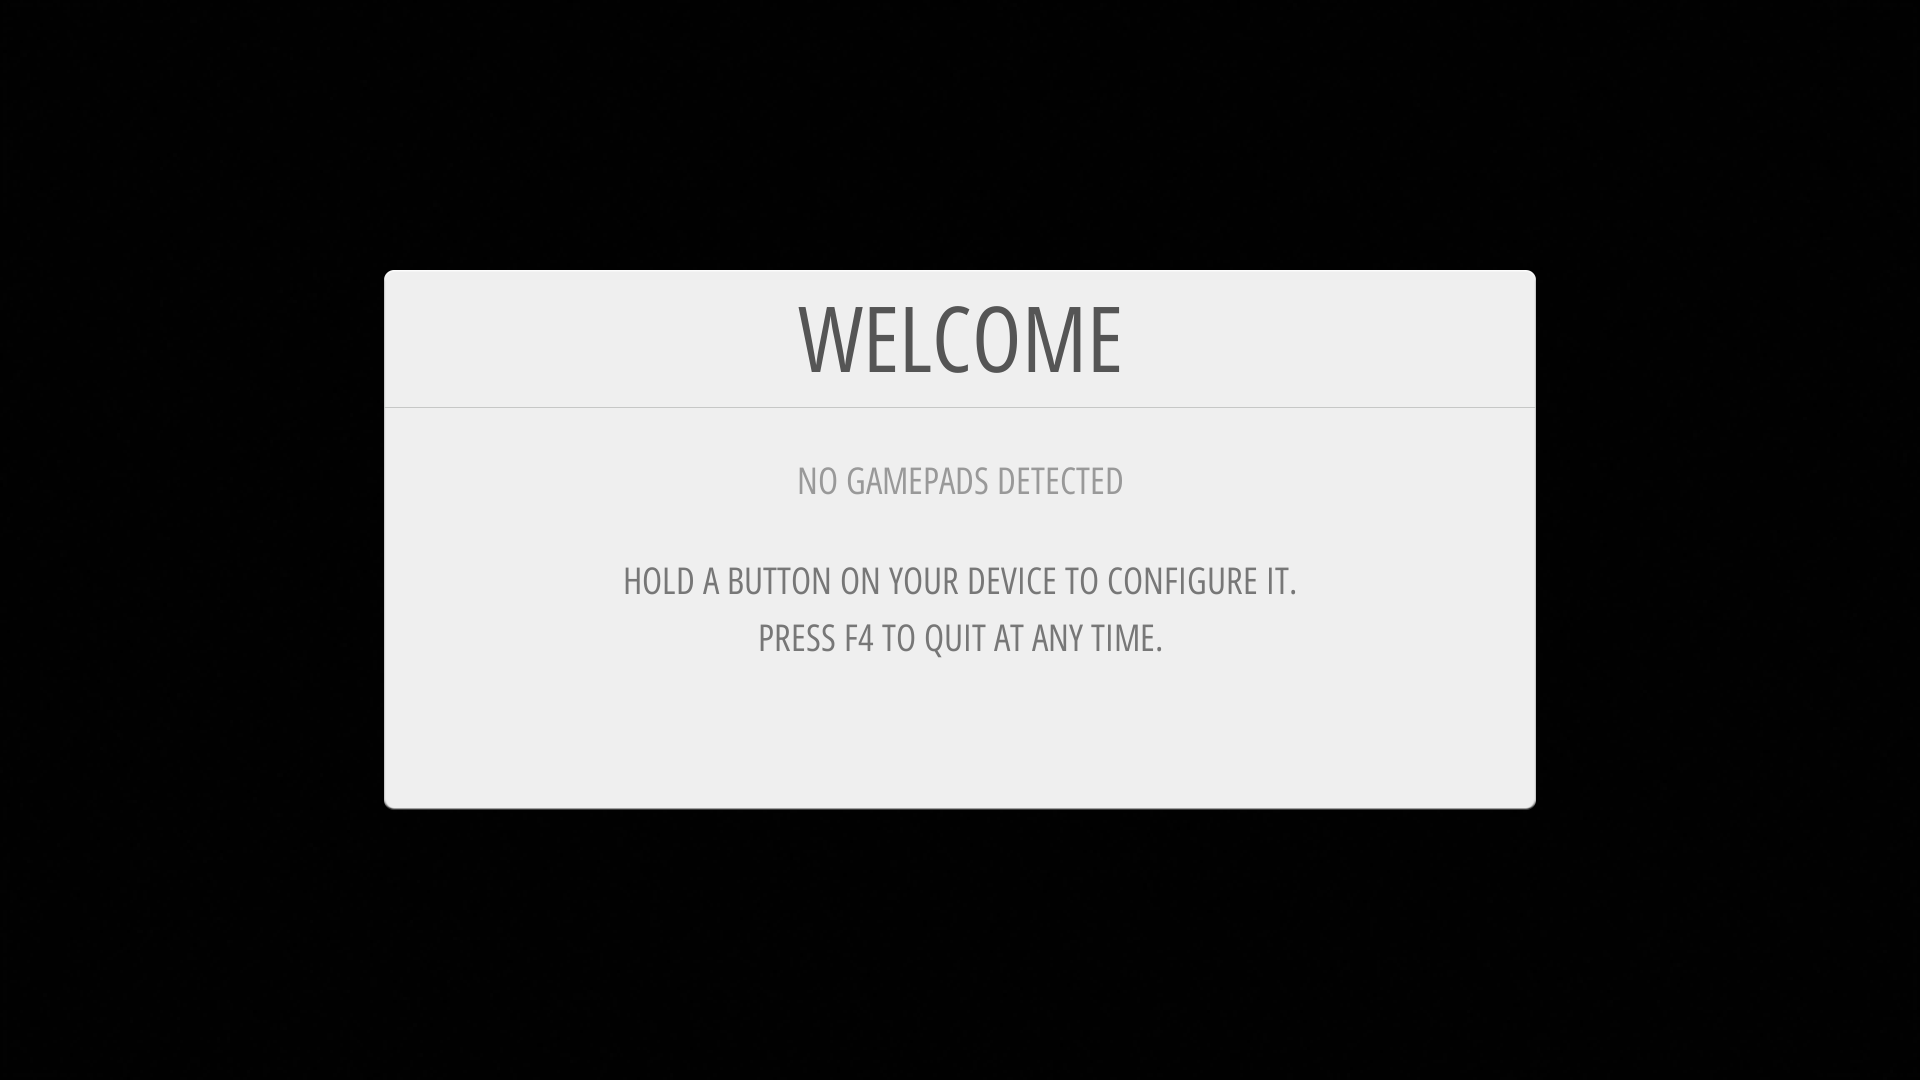
If you see a screen like this, it means you haven't connected the GeeekPi Joystick yet, so do that now, connect the micro USB cable to the joystick and the Raspberry Pi, after that you should see this:
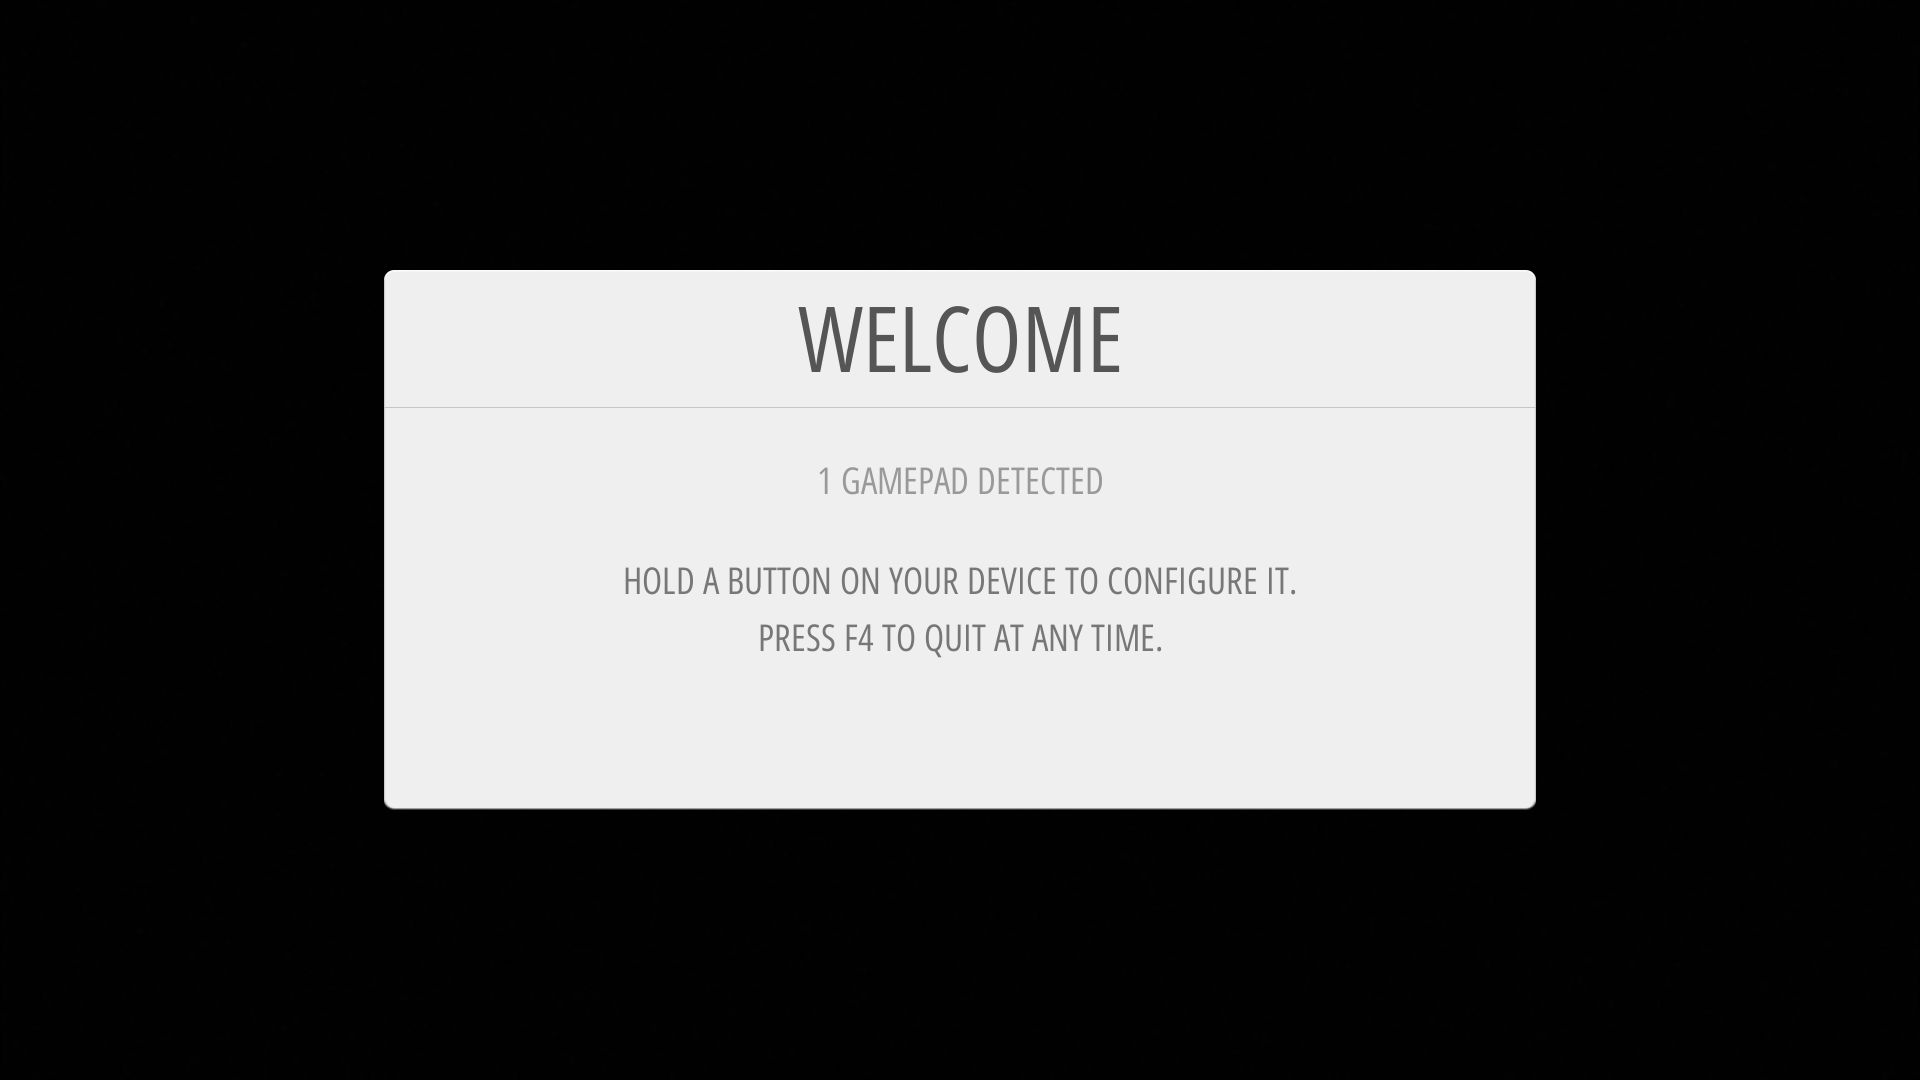
Nice! Now we can configure the gamepad, go head and press any button you want, you should see this:
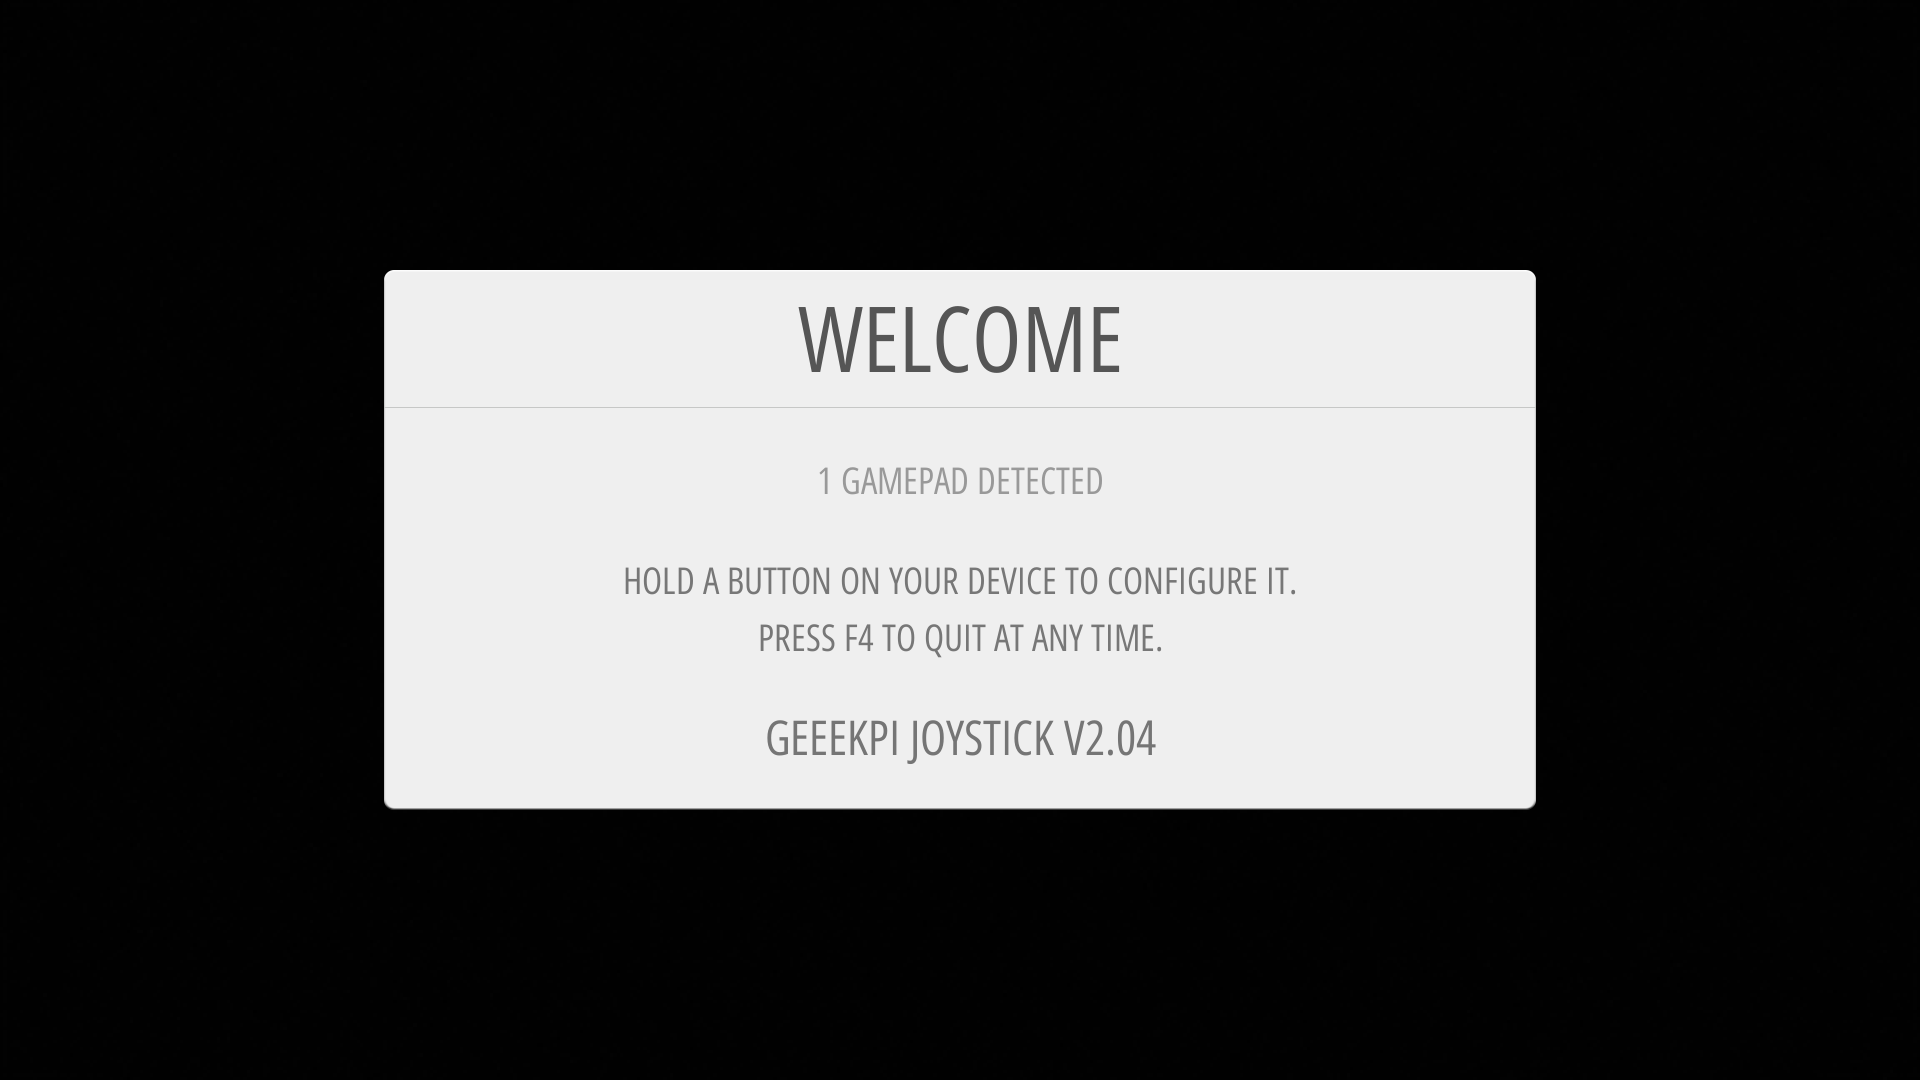
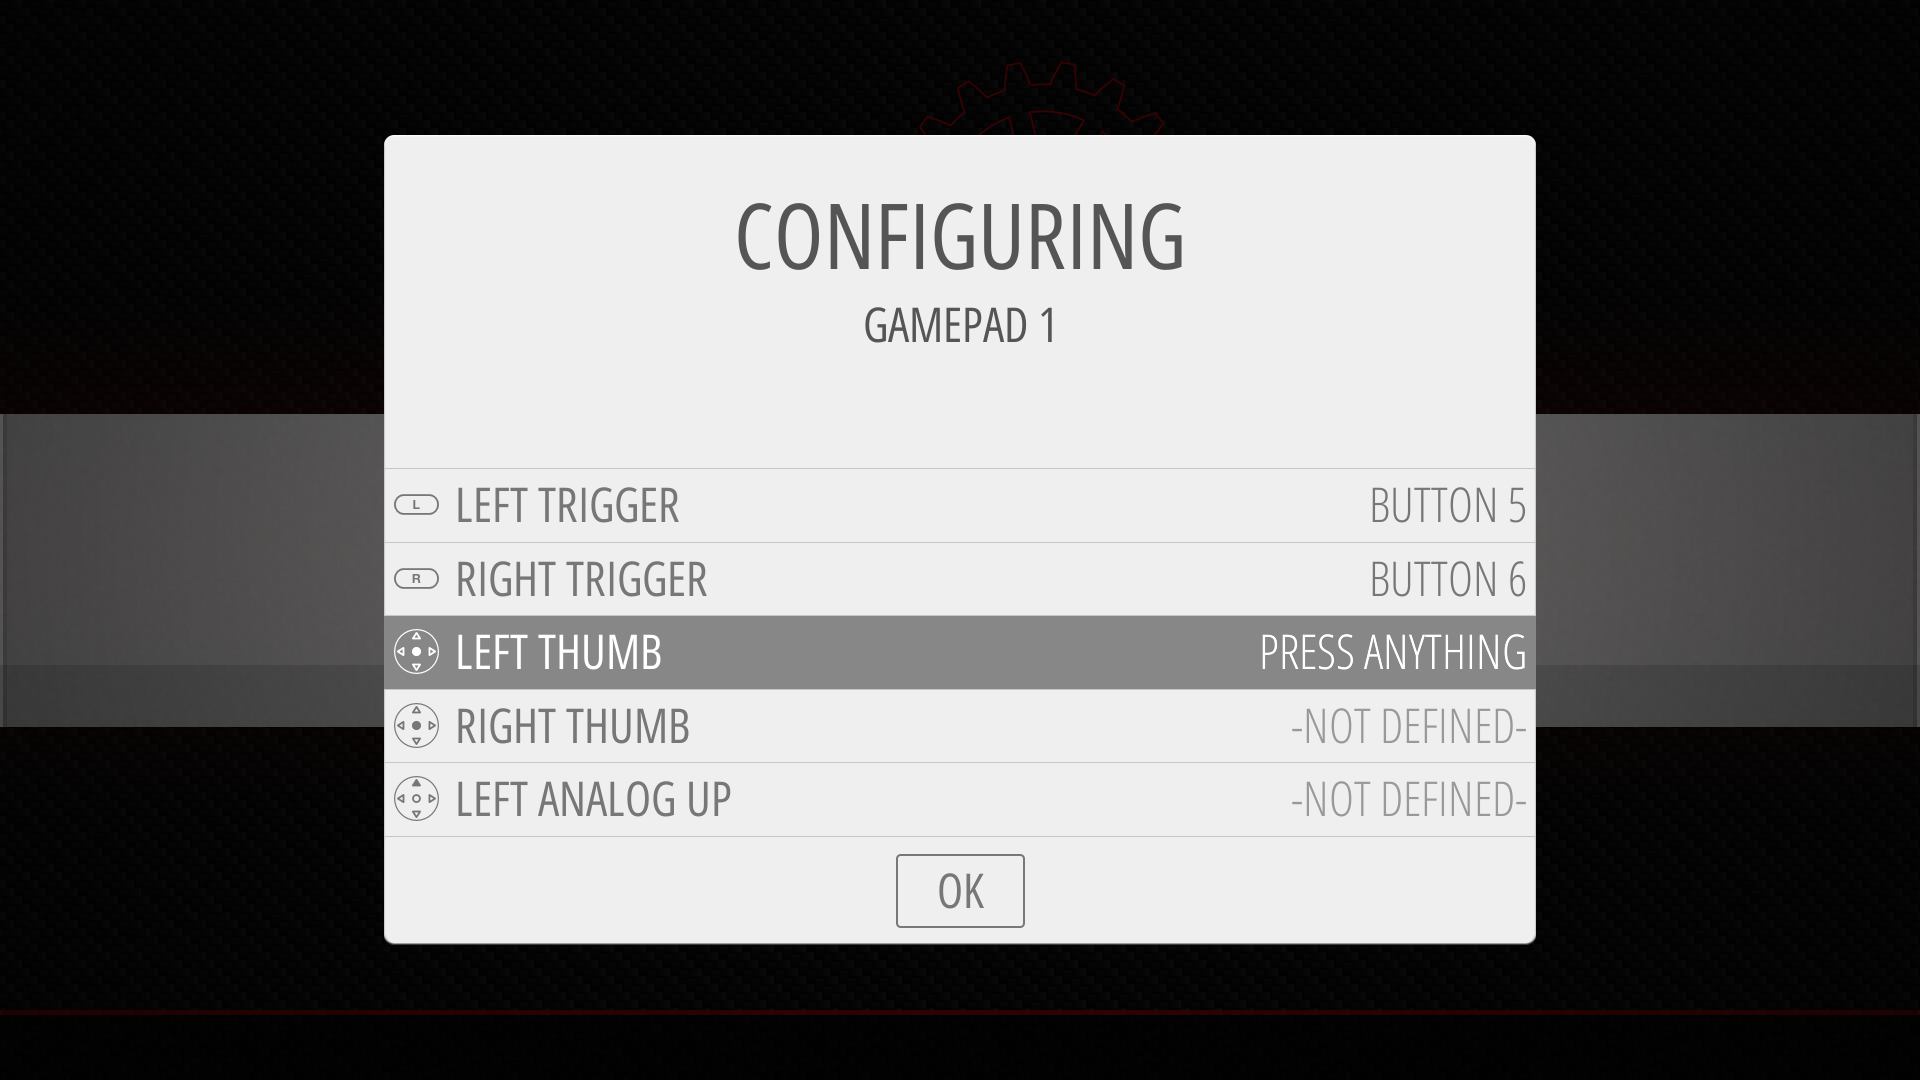
Ok, now we are on the input configurator screen:

Lets start by pushing the red ball joystick up, then down, left and right, after that you should press the button that is connected to the ST conector on the GeeekPi board, it should be one of the smaller buttons, go head and configure all the remaining buttons.
Ok, now you should be at this point:
In our kit we dont have the thumb buttons, but there is no problem, just LONG press one of the already attributed
buttons, it should advance, do that until you see this:
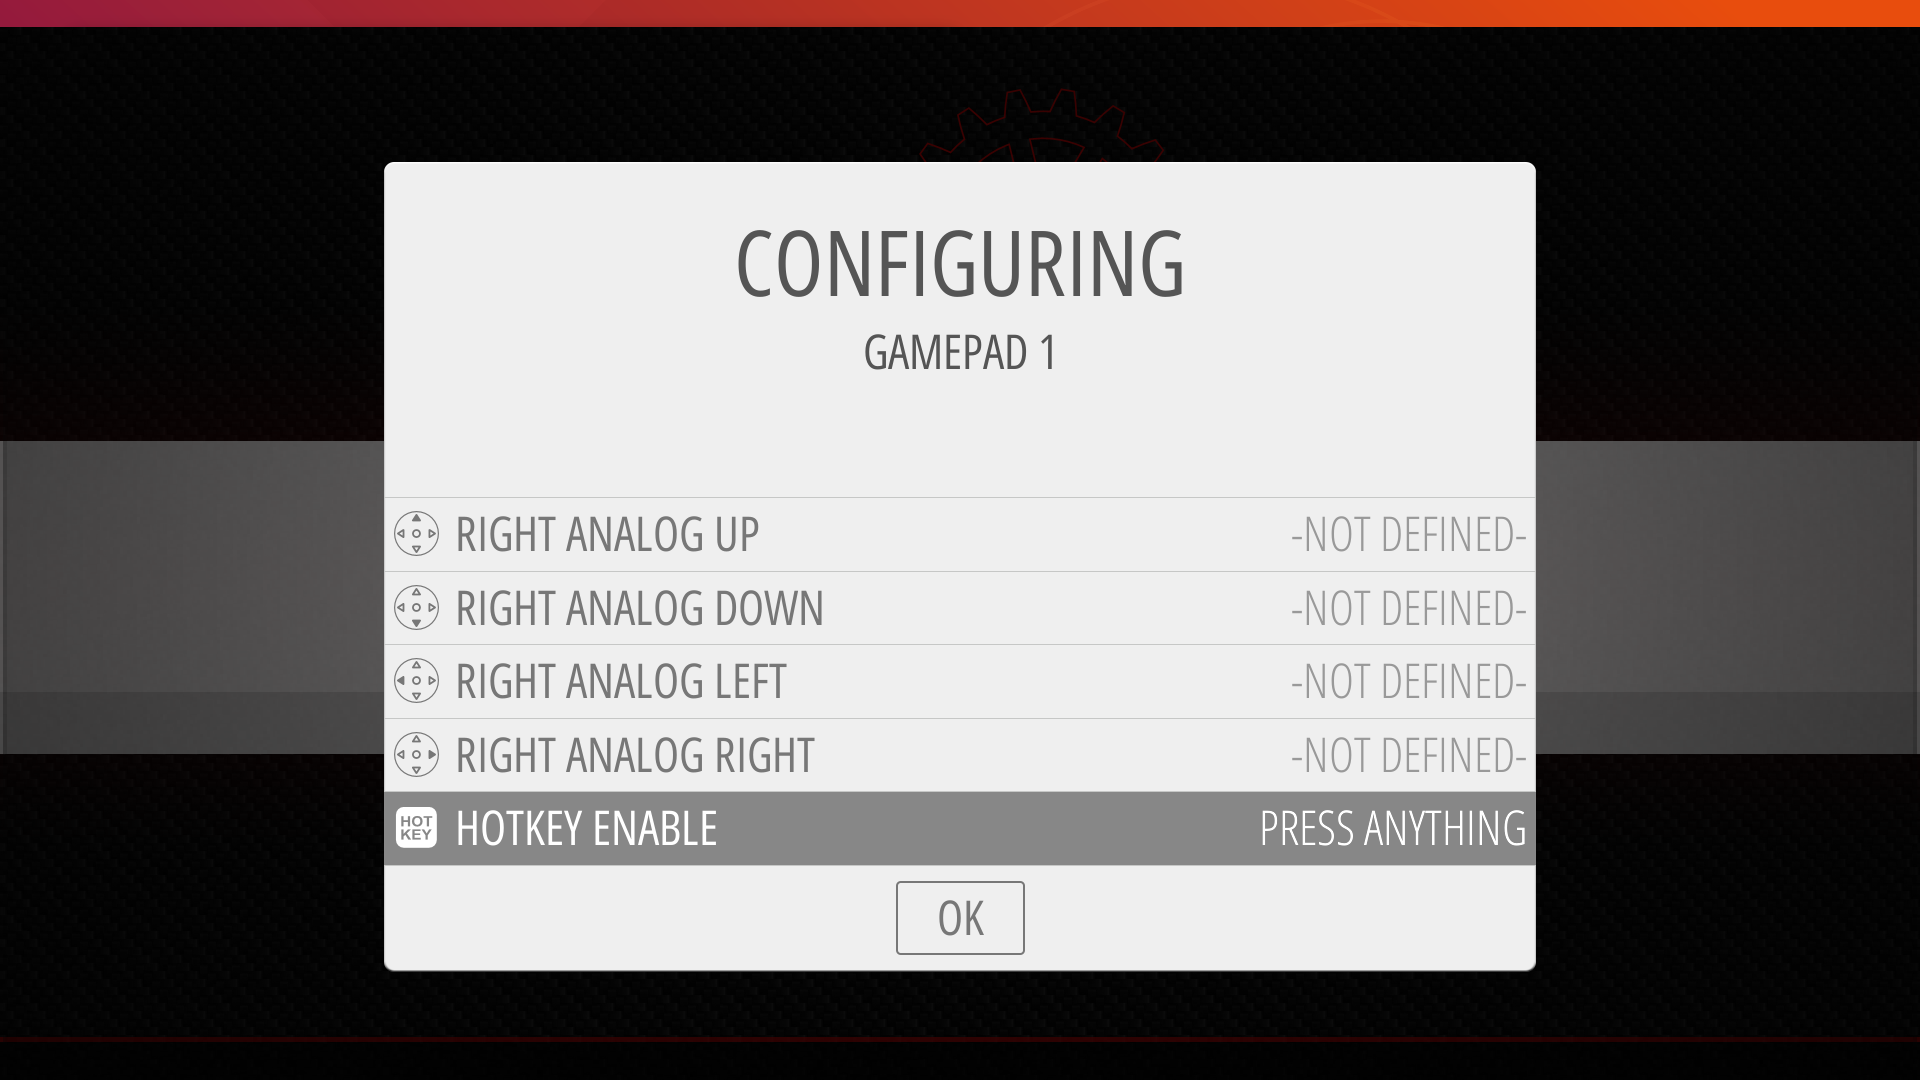
Here you should assign the SE button, this way whenever you want to exit a game, you just have to press the START and SELECT button at the same time.
Ok after this you just have to press the first big button that you assing and all should be set, GOOD JOB!
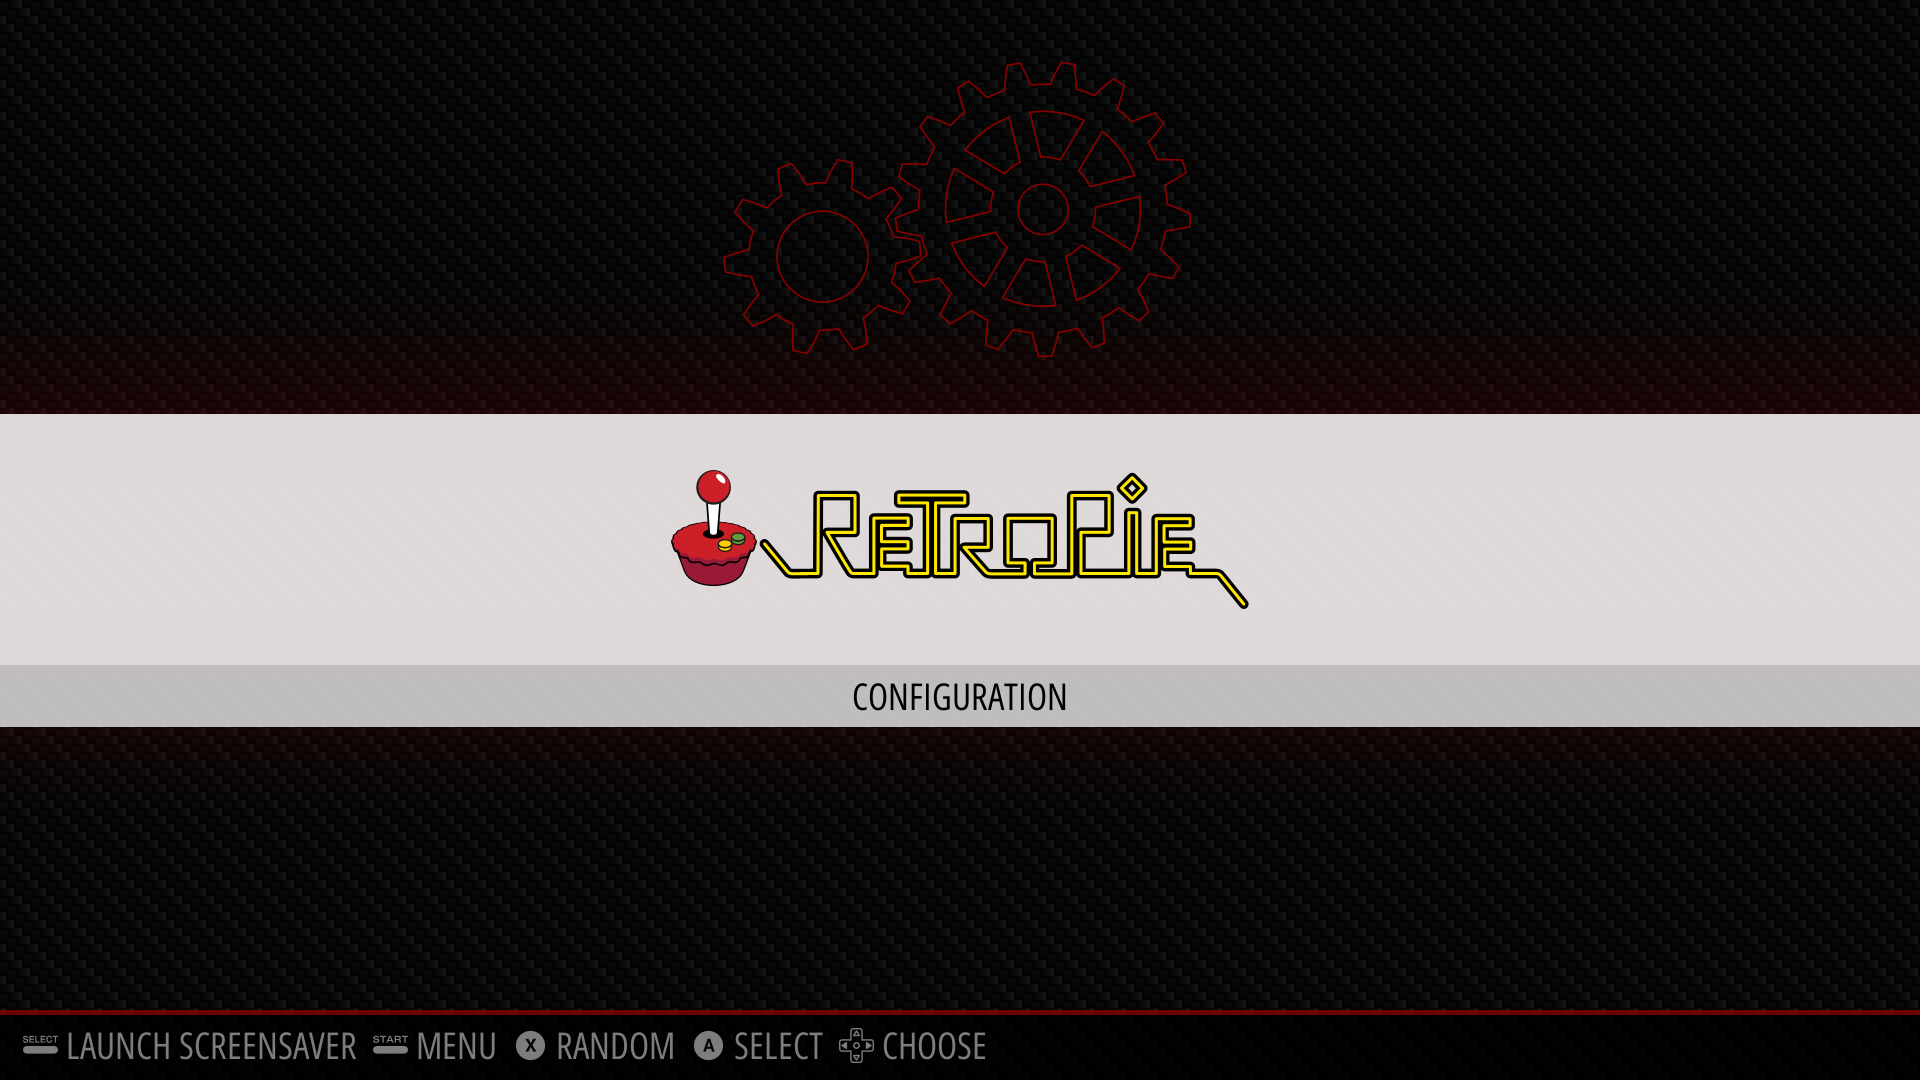
Nice, your Retropie system is ready to go!
Let's go to the funny part!
4. Time to add some games to the Retropie:
For this part you should have you Raspberry Pi connected to your home router by cable, this way is much more easy to configure all, if you cant do that, just press the A button and configure the network via WiFi.
Now if you are connected in the same network of your Raspberry you should be able to acess it very easly, if you have the Windows OS, just open the explorer and in the nav insert \\RETROPIE, like this:
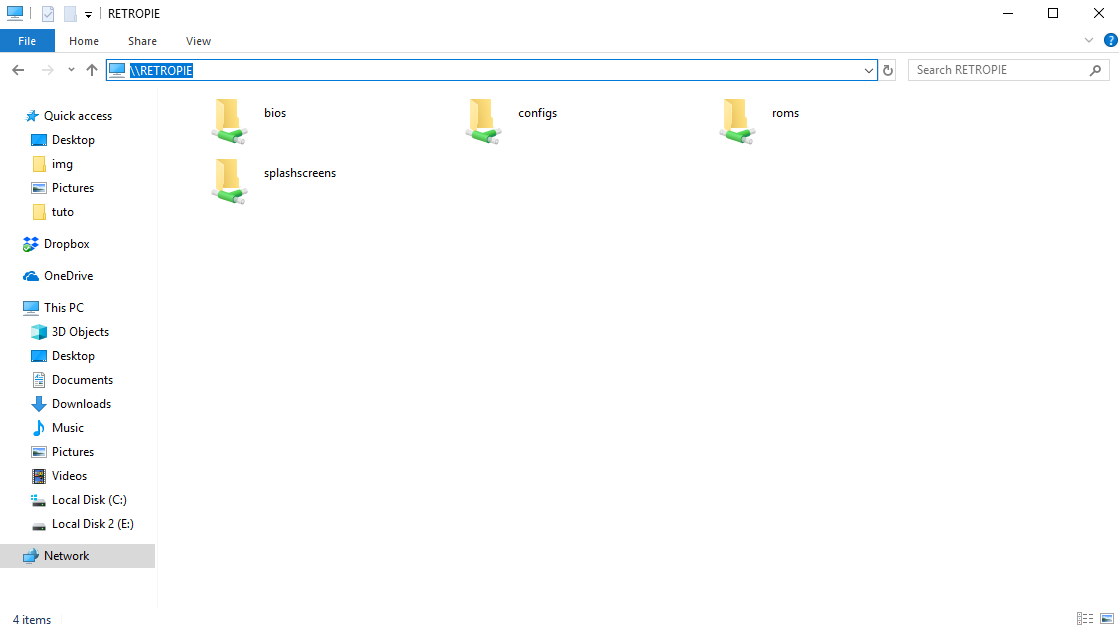
Now if you have any ROM file from a game, you can put it in the roms folder, and inside the correspondent system.
After this you can Press the START button and restart the emulator, or just turn OFF and then ON the raspberry, once you have done this, you should see something like this:

Perfect!! You have your first game ready to play.
Just press A button and the game should start loading!
IT's ALL DONE, ENJOY, HAVE FUN!
(PS: if you want something more personalized you can use this Dual Game Controller, this already have slots for two controllers, with this buttons, you can create your own custom controller!)
Related products

This tutorial will show you how to set up your own Arcade Machine, material needed:
1x - Arcade Gamepad
1x - Raspberry Pi 3B+
1x - SD Card
1x - 5V Power Supply
1x - Micro USB cable