
This IR Transmitter Module is designed for IR communication which is widely used for operating the television device from a short line-of-sight distance. The remote control is usually contracted to remote.
If you have any questions on this product please feel free to contact us.
*Disclaimer: The images are merely illustrative.
IR Transmitter Module is designed for IR communication which is widely used for operating the television device from a short line-of-sight distance. The remote control is usually contracted to remote.
Since infrared (IR) remote controls use light, they require line of sight to operate the destination device. The signal can, however, be reflected by mirrors, just like any other light sources.
If operation is required where no line of sight is possible, for instance when controlling equipment in another room or installed in a cabinet, many brands of IR extenders are available for this on the market. Most of these have an IR receiver, picking up the IR signal and relaying it via radio waves to the remote part, which has an IR transmitter mimicking the original IR control.
Infrared receivers also tend to have a more or less limited operating angle, which mainly depends on the optical characteristics of the phototransistor. However, it’s easy to increase the operating angle using a matte transparent object in front of the receiver.
int led = 3;
void setup() {
   pinMode(led, OUTPUT);
}
void loop() {
  digitalWrite(led, HIGH);
  delay(1000);
  digitalWrite(led, LOW);
  delay(1000);
}
In the darkness of the environment, you are going to see blinking blue light on phone's screen when using camera to shoot the infrared LED.
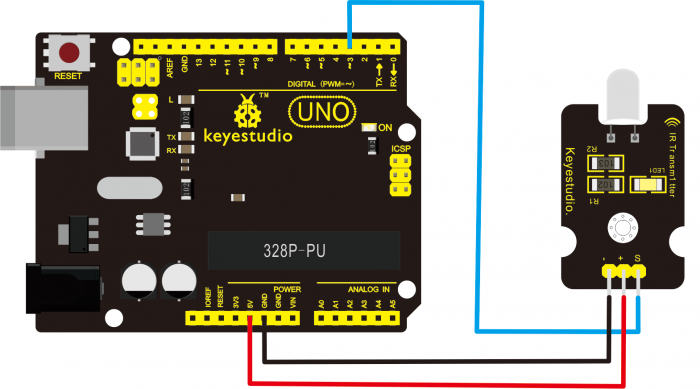
Upload well the above code to the board, the led on the sensor will blink red light.
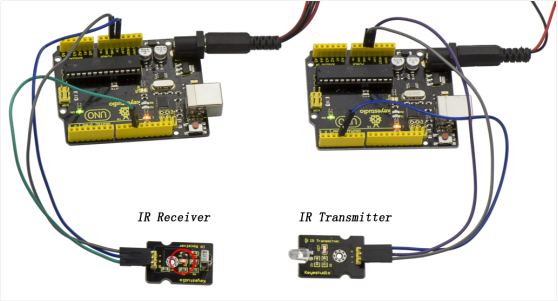
In the following, let’s move on to an interactive example between IR receiver and IR transmitter module.
Get Arduino library Arduino-IRremote and install it
Note: here if you have no two main boards, you can replace it with the breadboard for connection, may be more easier and convenient.
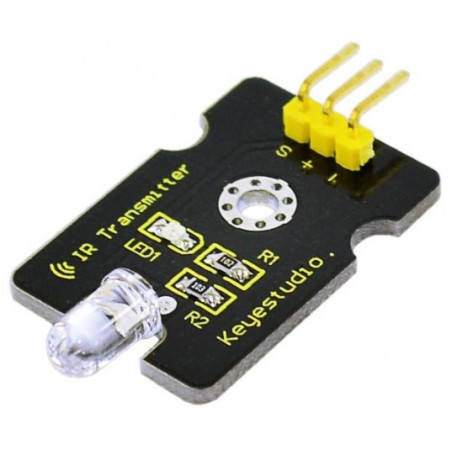
For IR Transmitter:
Notice: Arduino-IRremote only supports D3 as transmitter.
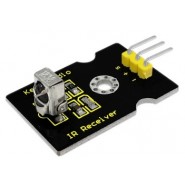
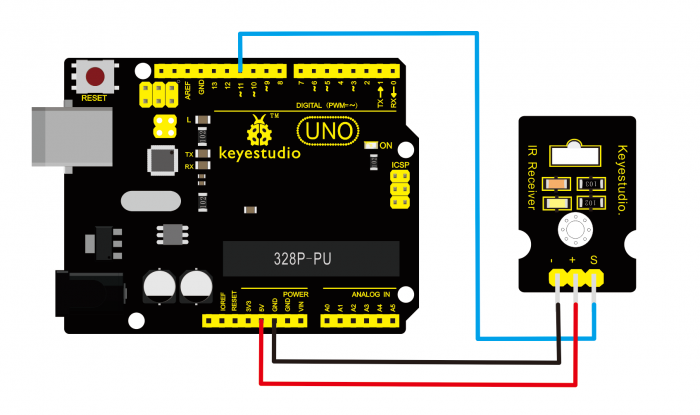
For IR Receiver:
connect it to D11 port.
Upload code 2 to the UNO connected with IR Transmitter:
 #include
  IRsend irsend;
 void setup()
 {}
 void loop() {
  irsend.sendRC5(0x0, 8); //send 0x0 code (8 bits)
     delay(200);
  irsend.sendRC5(0x1, 8);
     delay(200); }
Upload code 3 to the UNO connected with IR Receiver:
#include
 const int RECV_PIN = 11;
 const int LED_PIN = 13;
 IRrecv irrecv(RECV_PIN);
 decode_results results;
 void setup()
 {Serial.begin(9600);
   irrecv.enableIRIn(); // Start the receiver
 }
  void loop()
 {if (irrecv.decode(&results))
   { if ( results.bits > 0 )
     {
       int state;
       if ( 0x1 == results.value )
       {
         state = HIGH;
       }
       else
       {
       	state = LOW;
       }
 		digitalWrite( LED_PIN, state );
     }
  irrecv.resume();        // prepare to receive the next value
   }}
When IR Receiver module receives the infrared signal from IR Transmitter, D1 led on the IR Receiver module will blink.Shown as below figure.

Related products
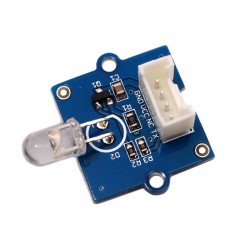
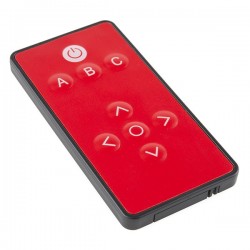
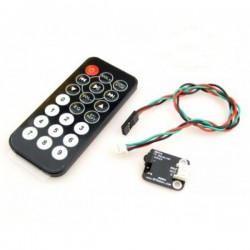

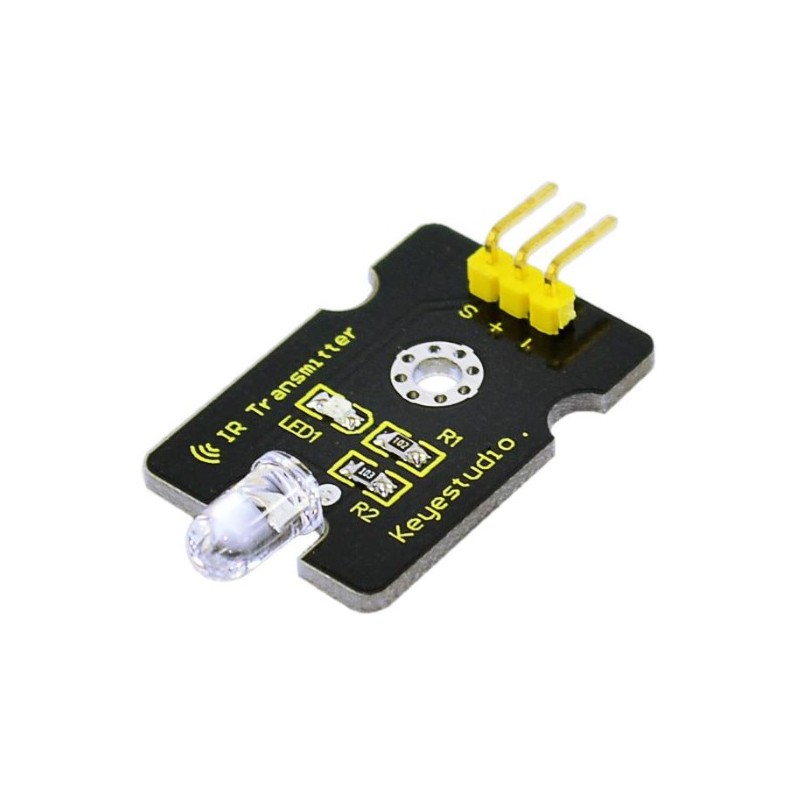
This IR Transmitter Module is designed for IR communication which is widely used for operating the television device from a short line-of-sight distance. The remote control is usually contracted to remote.