- DISCONTINUED


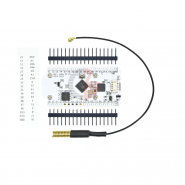
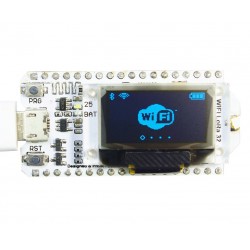
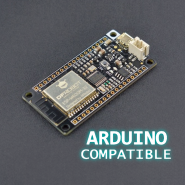
This product USES advanced LoRa spread spectrum communication technology, ultra long distance transmission reception, ultra-low power consumption, strong anti-interference ability.
Support the spectrum:433-470MHz 868-915MHz
Maximum sensitivity:-139dBm
Measured open area communication distance 3.6Km(Packet loss rate<0.3%)
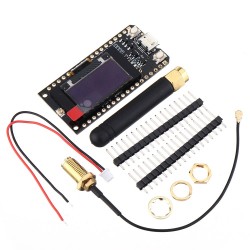
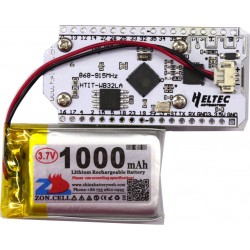
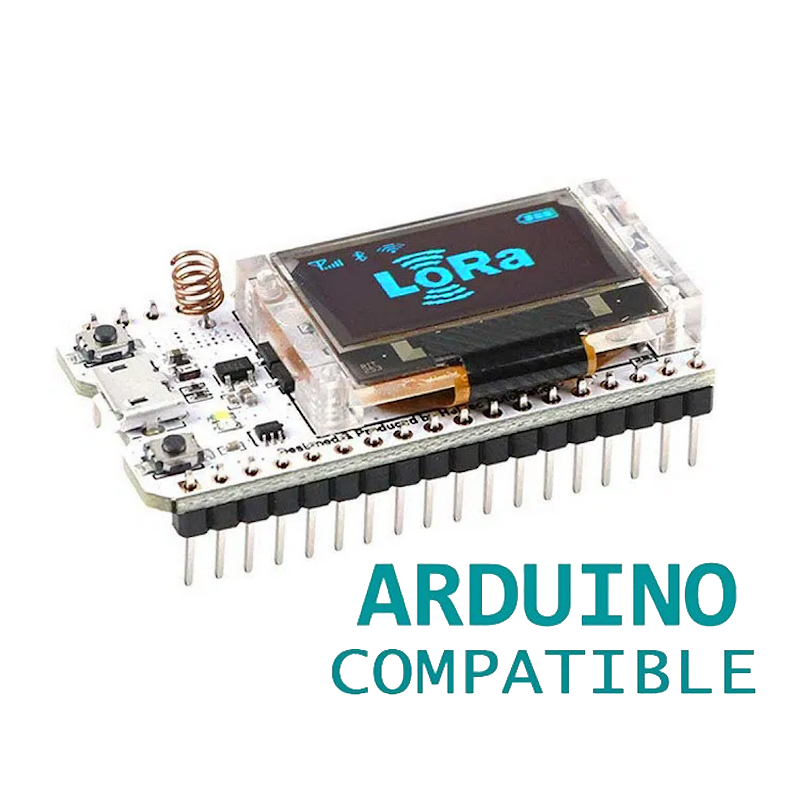
Attention: Headers are not soldered! This package includes Antenna and battery showed on image is not included.
If you have any questions on this product please feel free to contact us.
*Disclaimer: The images are merely illustrative.
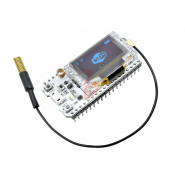
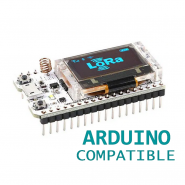
This product USES advanced LoRa spread spectrum communication technology, ultra long distance transmission reception, ultra-low power consumption, strong anti-interference ability.
Support the spectrum:433-470MHz
Maximum sensitivity:-139dBm
Measured open area communication distance 3.6Km(Packet loss rate<0.3%)
Use traditional bluetooth and BLE low-power dual-mode bluetooth.
Add a 0.96-inch OLED screen, showing the content is more intuitive.
Increase transmission/receiving distance.
Circuit setting can charge and discharge lithium battery directly.

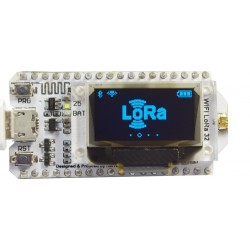
Arduino and LoRa comunication EXAMPLE from Robot Zero One site:
https://robotzero.one/heltec-wifi-lora-32/

Like a lot of these devices this is pretty easy to set up. Once you know which libraries and pin numbers to use! If you’ve not set up the board in the Arduino IDE yet there’s instructions here.
For an initial test run to see if the LoRa part is functioning you’ll need another device to transmit or receive Lora signals. For the tests below I’m using Ai-Thinker RA-02 with an Arduino UNO as described in this post – UNO with Ai-Thinker RA-02 SX1278 LoRa Module to send packets.
There’s a download available for this Heltec device but it’s probably easier to use one of the LoRa libraries that are available through the Arduino IDE library manager. Just search for an install this one:

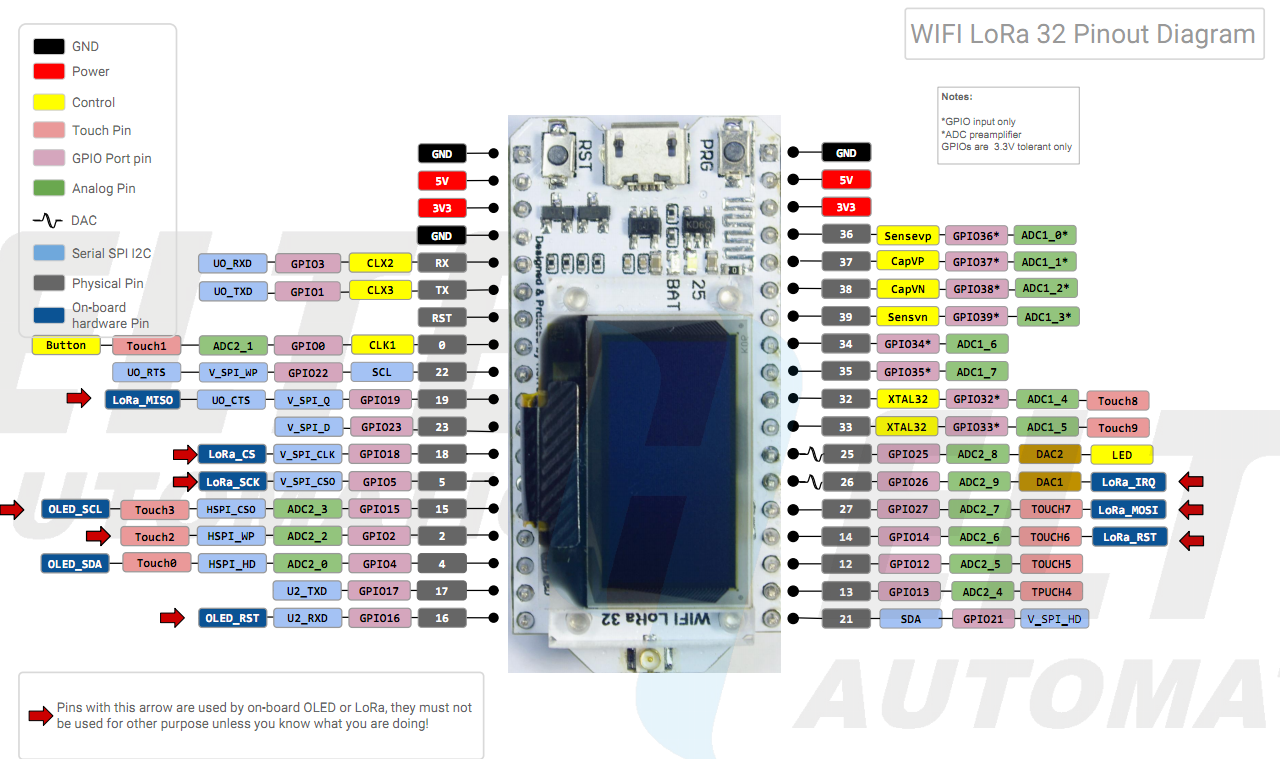
To make this library work with the Heltec LoRa device you need to define some pins:
#define SS 18
#define RST 14
#define DI0 26
Add a couple of lines to the setup():
SPI.begin(5, 19, 27, 18);
LoRa.setPins(SS, RST, DI0);
and change the baud rate: Serial.begin(115200); and LoRa frequency: LoRa.begin(433E6)
Or just copy and paste the code below
#include <SPI.h>
#include <LoRa.h>

// WIFI_LoRa_32 ports
// GPIO5  -- SX1278's SCK
// GPIO19 -- SX1278's MISO
// GPIO27 -- SX1278's MOSI
// GPIO18 -- SX1278's CS
// GPIO14 -- SX1278's RESET
// GPIO26 -- SX1278's IRQ(Interrupt Request)

#define SS      18
#define RST     14
#define DI0     26

void setup() {

  SPI.begin(5, 19, 27, 18);
  LoRa.setPins(SS, RST, DI0);

  Serial.begin(115200);
  while (!Serial);

  Serial.println("LoRa Receiver");

  if (!LoRa.begin(433E6)) {
    Serial.println("Starting LoRa failed!");
    while (1);
  }
}

void loop() {
  // try to parse packet
  int packetSize = LoRa.parsePacket();
  if (packetSize) {
    // received a packet
    Serial.print("Received packet '");

    // read packet
    while (LoRa.available()) {
      Serial.print((char)LoRa.read());
    }

    // print RSSI of packet
    Serial.print("' with RSSI ");
    Serial.println(LoRa.packetRssi());
  }
}
Depending what you are sending you’ll see something like this in the serial monitor:
Received packet ’79’ with RSSI -68
Received packet ’80’ with RSSI -68
Received packet ’81’ with RSSI -58
Received packet ’82’ with RSSI -58
Received packet ’83’ with RSSI -68
Received packet ’84’ with RSSI -68
Received packet ’85’ with RSSI -68
Received packet ’86’ with RSSI -68
I’ll explain in more detail later but if you want to see the LoRa data on the built-in screen as well as the serial console you can just copy and paste the code below. You’ll need to install the U8g2 (https://github.com/olikraus/u8g2) library. This can be found in the Arduino IDE library manager. Open Sketch > Include Library > Manage Libraries and search for and then install U8g2.
#include <U8x8lib.h>
#include <LoRa.h>

String receivedText;
String receivedRssi;

// WIFI_LoRa_32 ports
// GPIO5  -- SX1278's SCK
// GPIO19 -- SX1278's MISO
// GPIO27 -- SX1278's MOSI
// GPIO18 -- SX1278's CS
// GPIO14 -- SX1278's RESET
// GPIO26 -- SX1278's IRQ(Interrupt Request)

#define SS      18
#define RST     14
#define DI0     26
#define BAND    433E6

// the OLED used
U8X8_SSD1306_128X64_NONAME_SW_I2C u8x8(/* clock=*/ 15, /* data=*/ 4, /* reset=*/ 16);

void setup() {

  SPI.begin(5, 19, 27, 18);
  LoRa.setPins(SS, RST, DI0);

  Serial.begin(115200);
  while (!Serial); //if just the the basic function, must connect to a computer
  delay(1000);

  u8x8.begin();
  u8x8.setFont(u8x8_font_chroma48medium8_r);

  Serial.println("LoRa Receiver");
  u8x8.drawString(0, 1, "LoRa Receiver");

  if (!LoRa.begin(BAND)) {
    Serial.println("Starting LoRa failed!");
    u8x8.drawString(0, 1, "Starting LoRa failed!");
    while (1);
  }
}

void loop() {

  // try to parse packet
  int packetSize = LoRa.parsePacket();
  if (packetSize) {
    // received a packet
    Serial.print("Received packet '");
    u8x8.drawString(0, 4, "PacketID");

    // read packet
    while (LoRa.available()) {
      receivedText = (char)LoRa.read();
      Serial.print(receivedText);
      char currentid[64];
      receivedText.toCharArray(currentid, 64);
      u8x8.drawString(9, 4, currentid);
    }

    // print RSSI of packet
    Serial.print("' with RSSI ");
    Serial.println(LoRa.packetRssi());
    u8x8.drawString(0, 5, "PacketRS");
    receivedRssi = LoRa.packetRssi();
    char currentrs[64];
    receivedRssi.toCharArray(currentrs, 64);
    u8x8.drawString(9, 5, currentrs);
  }

}
This code is just to test everything works. More needs to be done to properly use LoRa within the legal guidelines etc.

You might also like
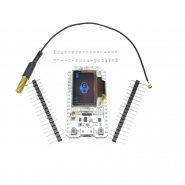
This product USES advanced LoRa spread spectrum communication technology, ultra long distance transmission reception, ultra-low power consumption, strong anti-interference ability.
Support the spectrum:433-470MHz 868-915MHz
Maximum sensitivity:-139dBm
Measured open area communication distance 3.6Km(Packet loss rate<0.3%)
Attention: Headers are not soldered! This package includes Antenna and battery showed on image is not included.